Outlook app on Android: Set up email
This article is specific to Business Email. If you have a different type of email, please see Microsoft 365 Android instructions, or Workspace email Android instructions.
To access your Business Email from your Android phone, you can use the Outlook app. The Outlook app is compatible with Android phones and tablets running Android 4.0 and above.
Note: We've used a Samsung Galaxy 5, for the instructions below.
- Download, install, and open the Outlook app.
- If you haven't already set up an account, tap Get started. If you have already set up an account:
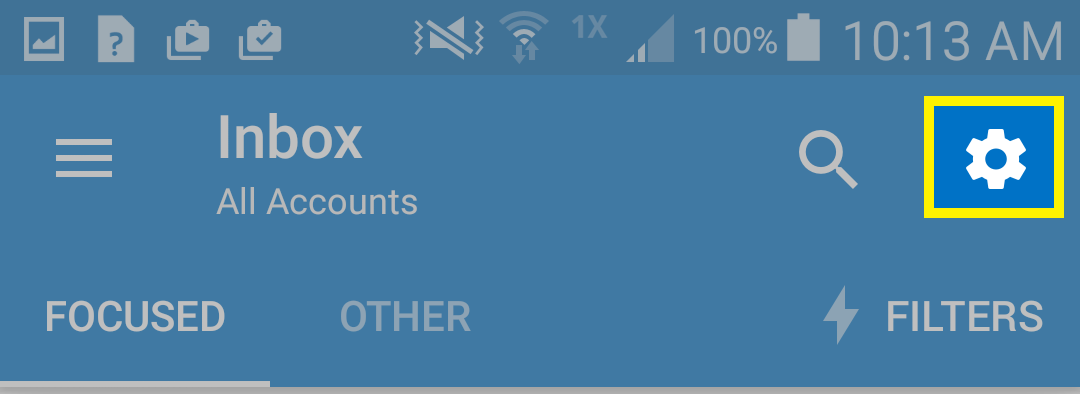
- Tap the Settings gear in the top right corner of your inbox.
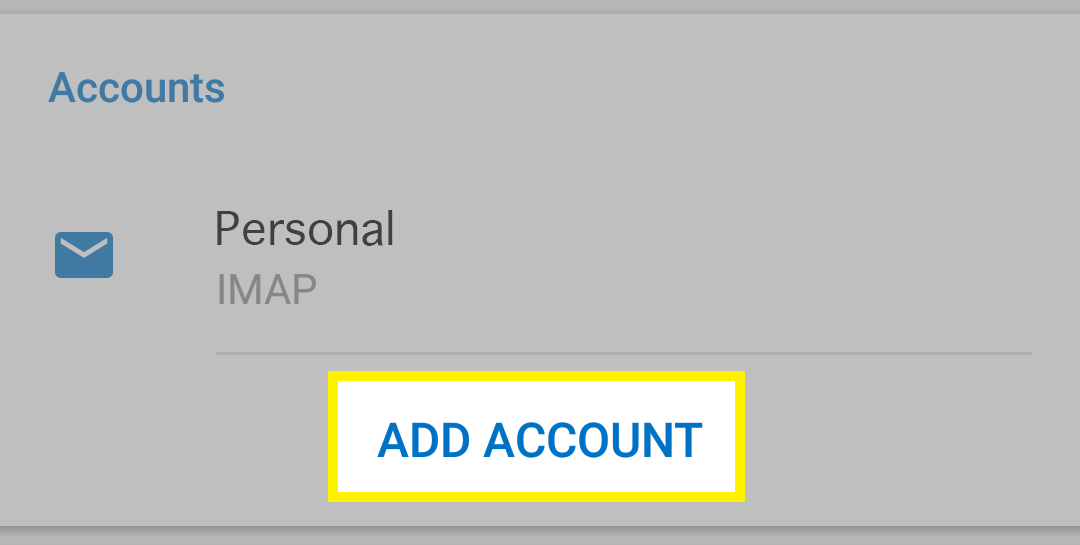
- Tap Add Account.
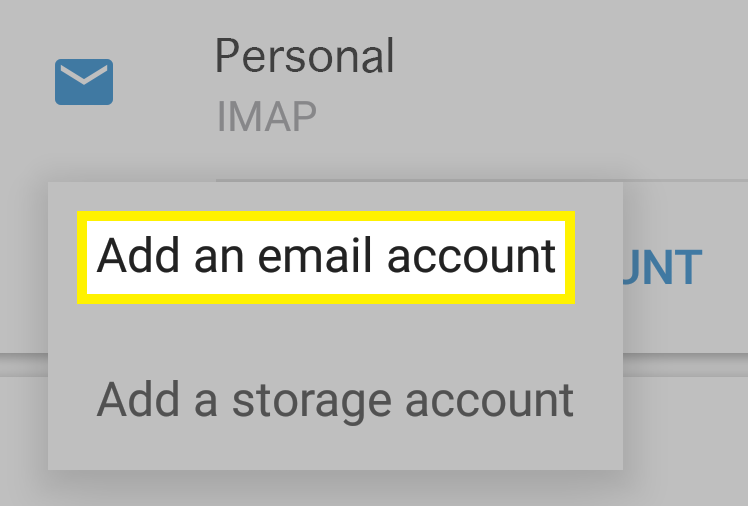
- Tap Add an email account.
- Tap the Settings gear in the top right corner of your inbox.
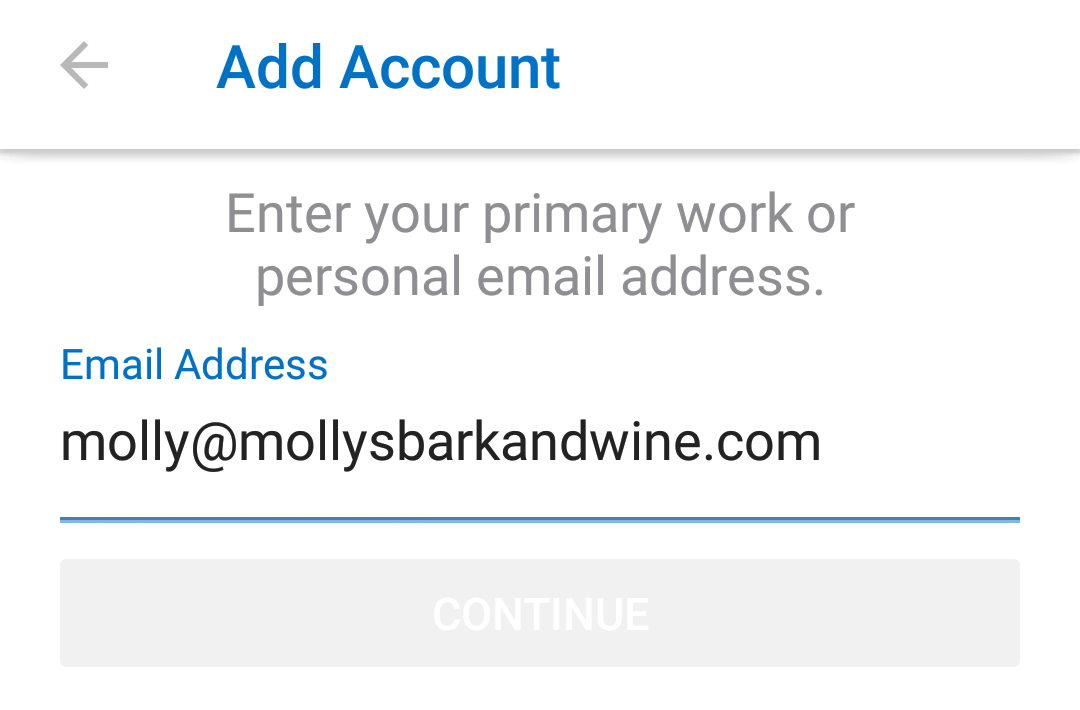
- Enter your Business Email address, and tap Continue.
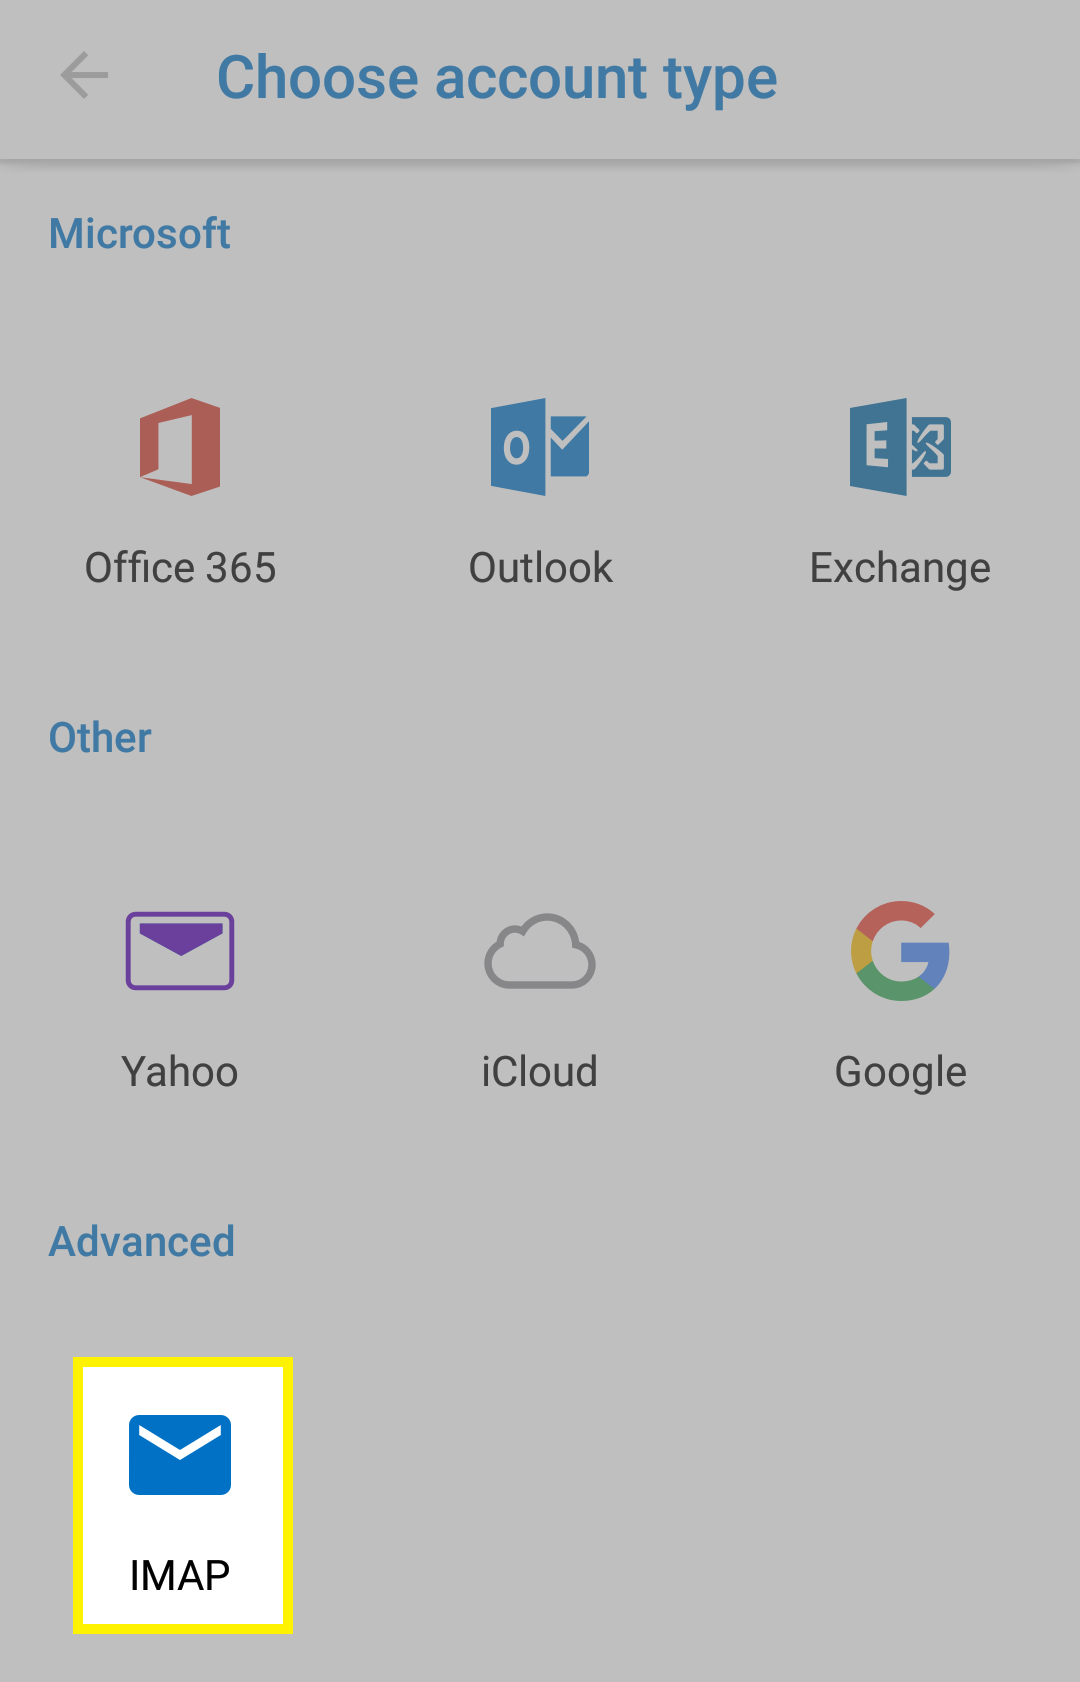
- The Outlook app may have you select the type of email. Tap IMAP.
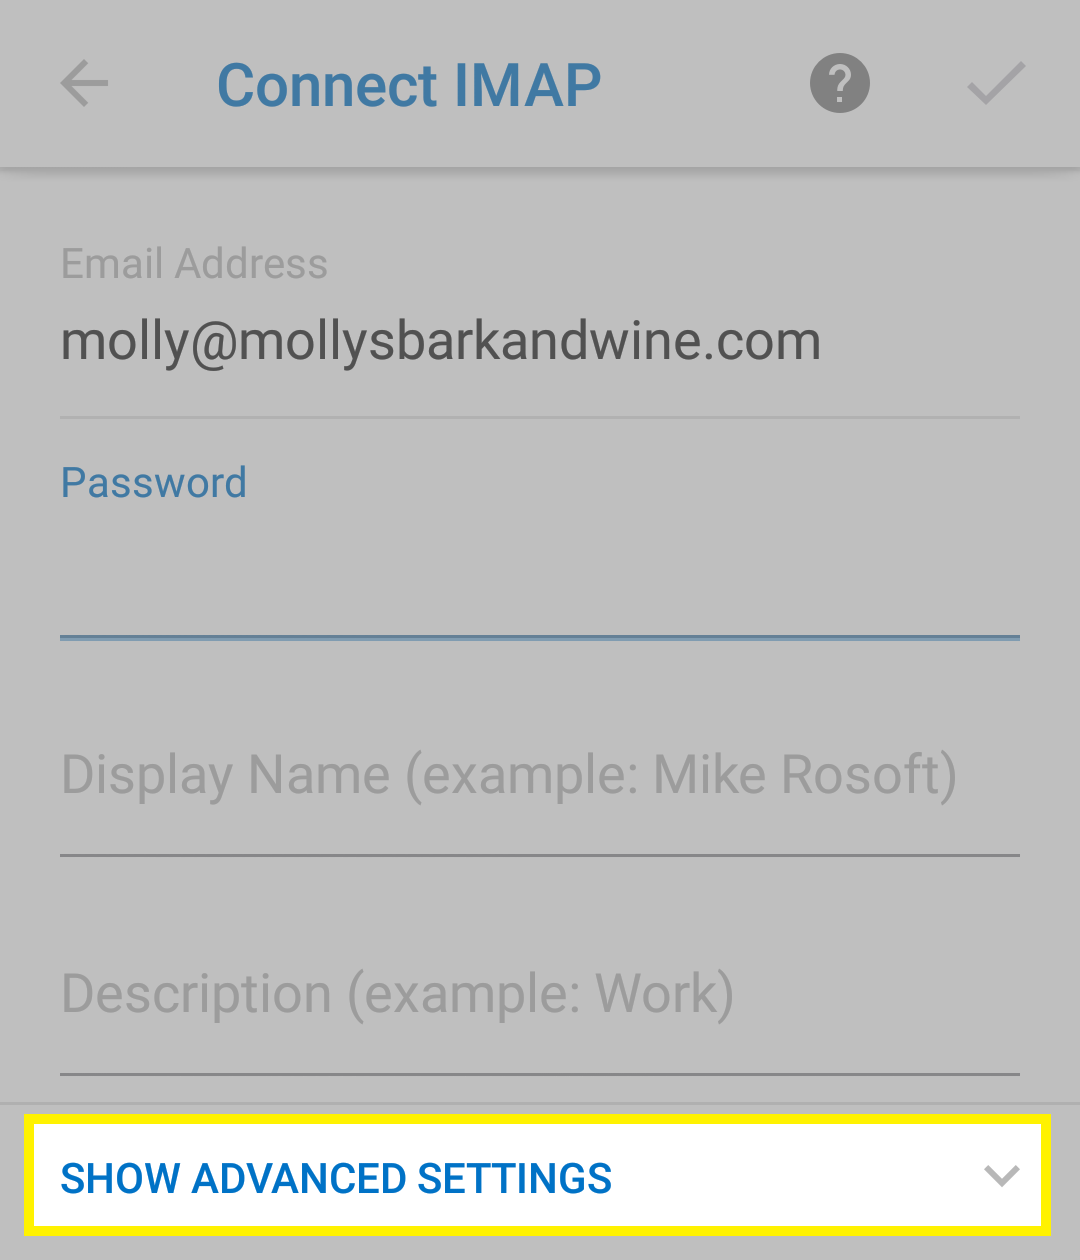
- Your Email Address should be pre-filled. Tap Show advanced settings.
- Enter the following details:
Field What to enter Display Name The name you want to show to others when they receive your emails. Description An optional reference for you about this account. No one else will see this. IMAP Host Name The correct incoming server address for your region, found here. IMAP Username Your full Business Email password. IMAP Password Your Business Email password. SMTP Host Name The correct outgoing server address for your region, found here. SMTP Username Your full Business Email password, again. SMTP Password Your Business Email password, again. 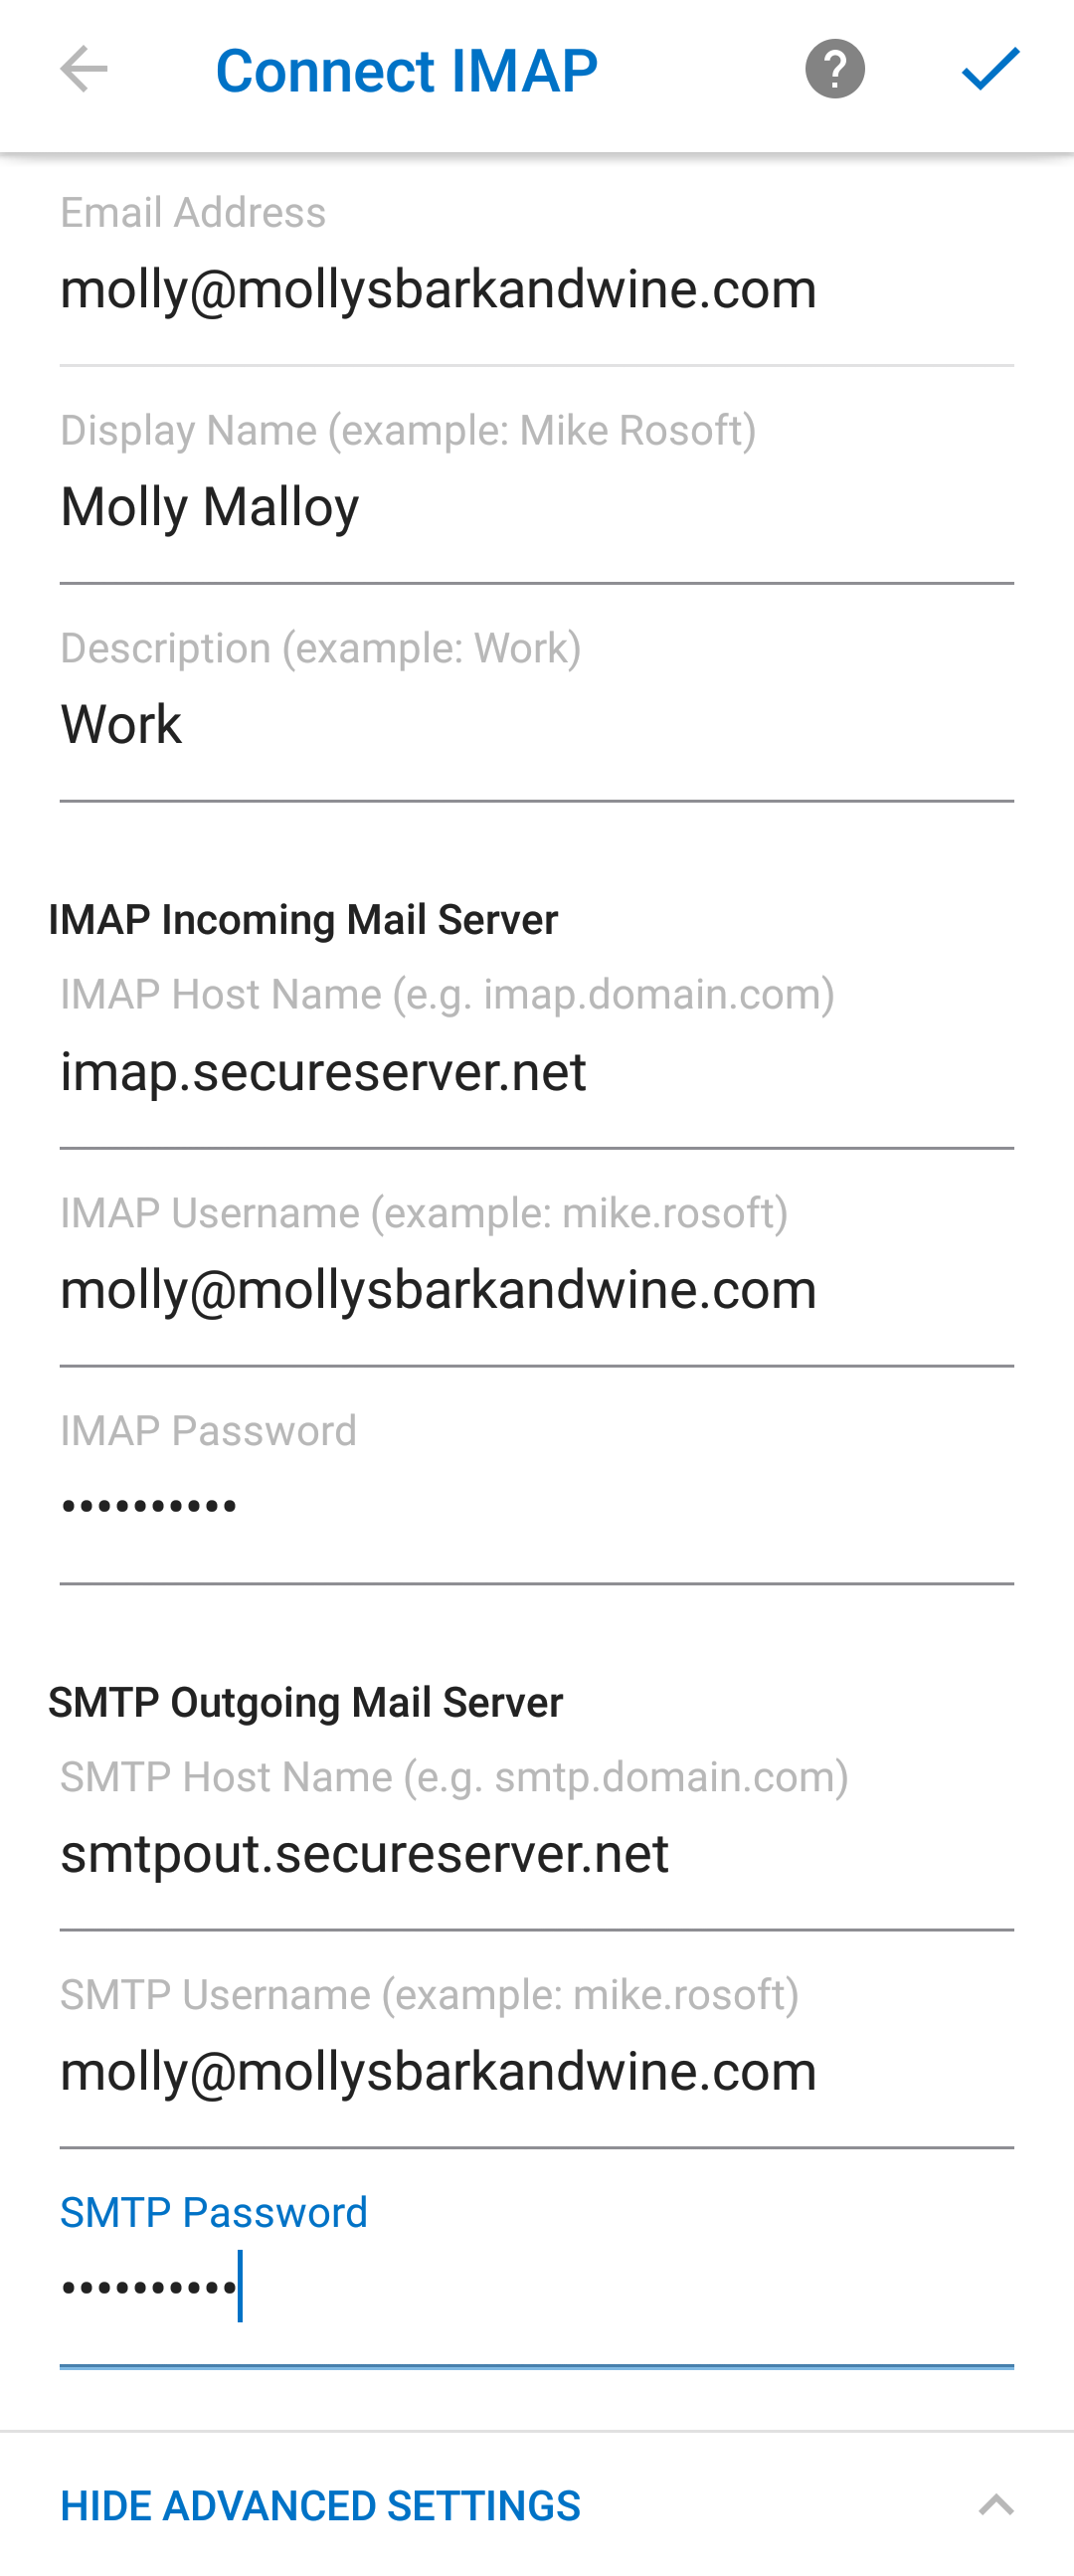
- Tap the check mark in the top right corner of the screen.
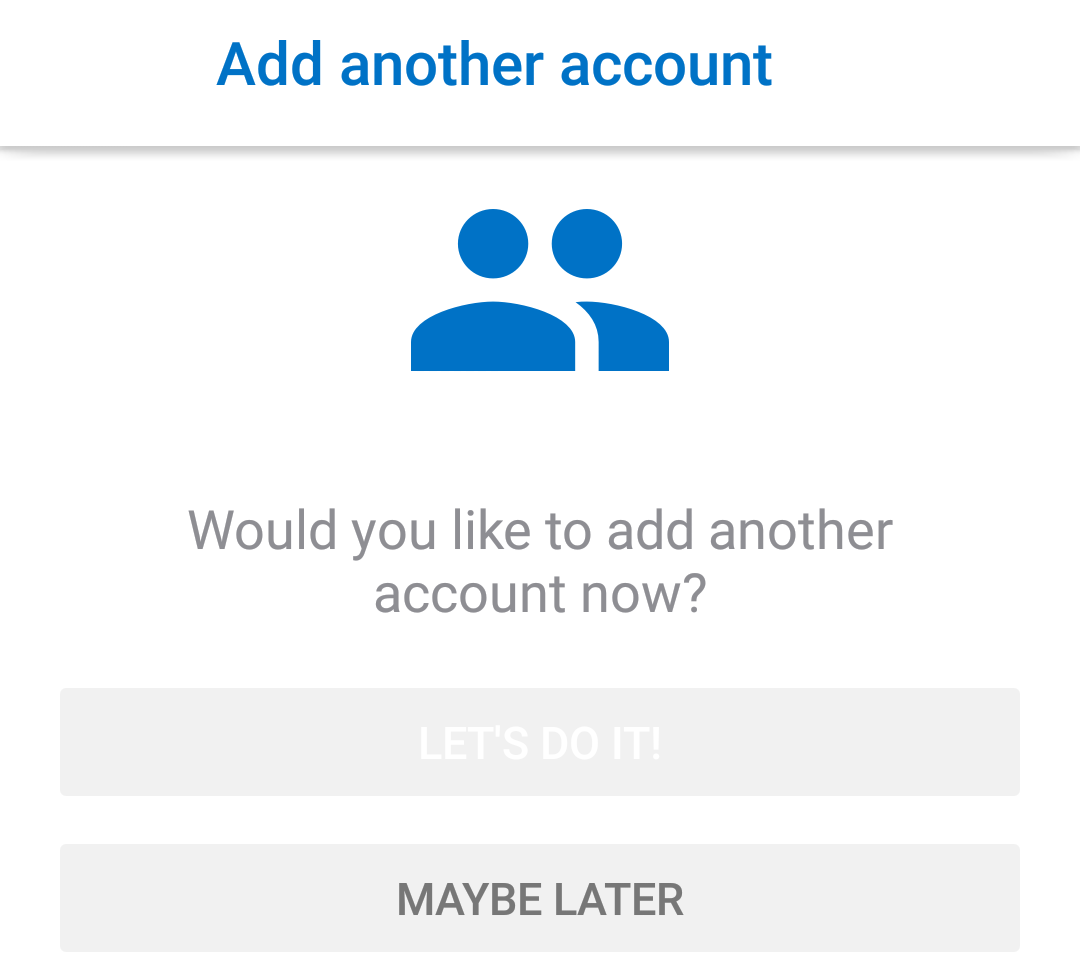
- If you want to set up another email address, tap Let's do it! Otherwise, tap Maybe later to get to your inbox.
Next step
- Send yourself a test email to make sure everything is set up correctly.
More info
- You can also set up your Business Email in your native email app on your Android.
- Set up your Business Email on your desktop: