Outlook app on iPhone & iPad: Set up email
This article is specific to Business Email. If you have a different type of email, please see Microsoft 365 iPhone instructions, or Workspace email iPhone instructions.
To access your Business Email from your iPhone or iPad, you can use the Outlook app. The Outlook app is compatible with any device running iOS 8.0+.
- Download, install, and open the Microsoft Outlook app.
- If this is the first account you're setting up:
- Tap Get Started.
- If you want the Outlook app to send you notifications, tap Notify Me. Otherwise, tap No Thanks.

Note: If you selected Notify Me, tap OK on the pop-up notification.
- Tap Get Started.
- If you've already set up an account
- Tap Settings in the bottom menu.

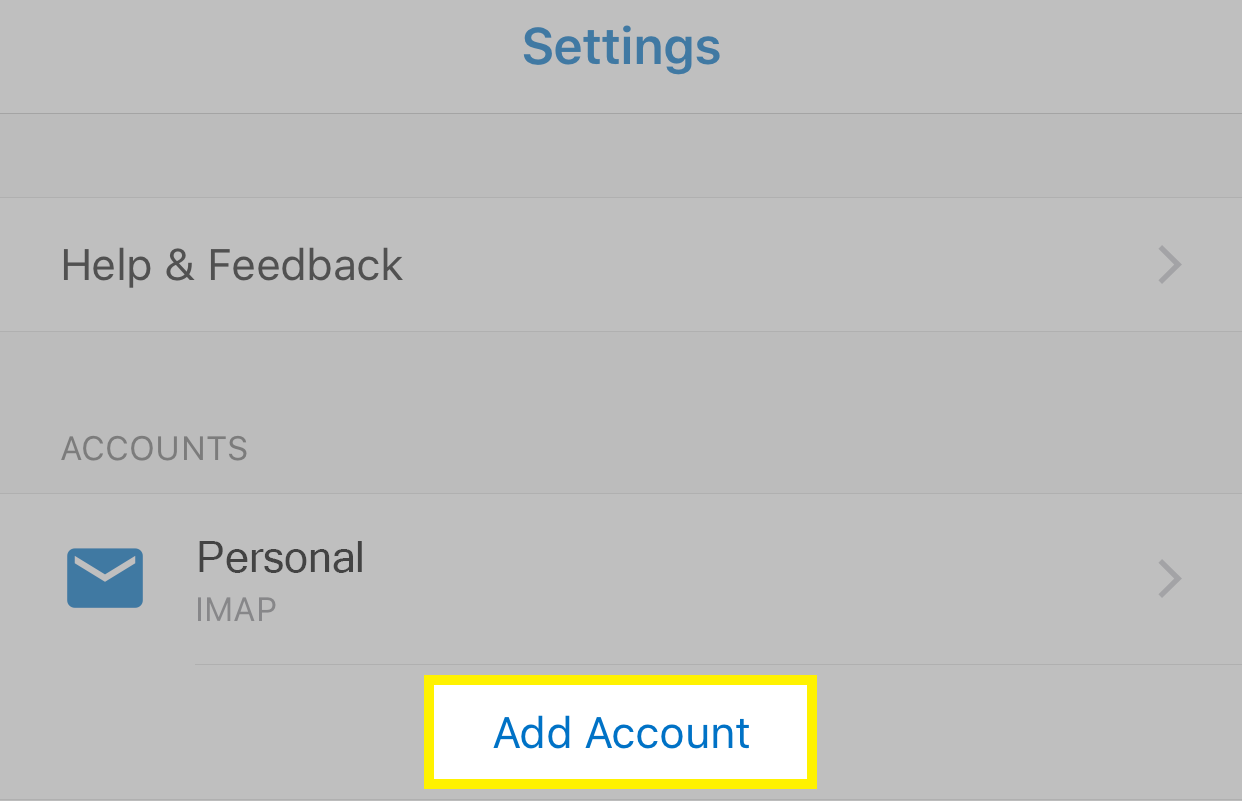
- Tap Add Account.
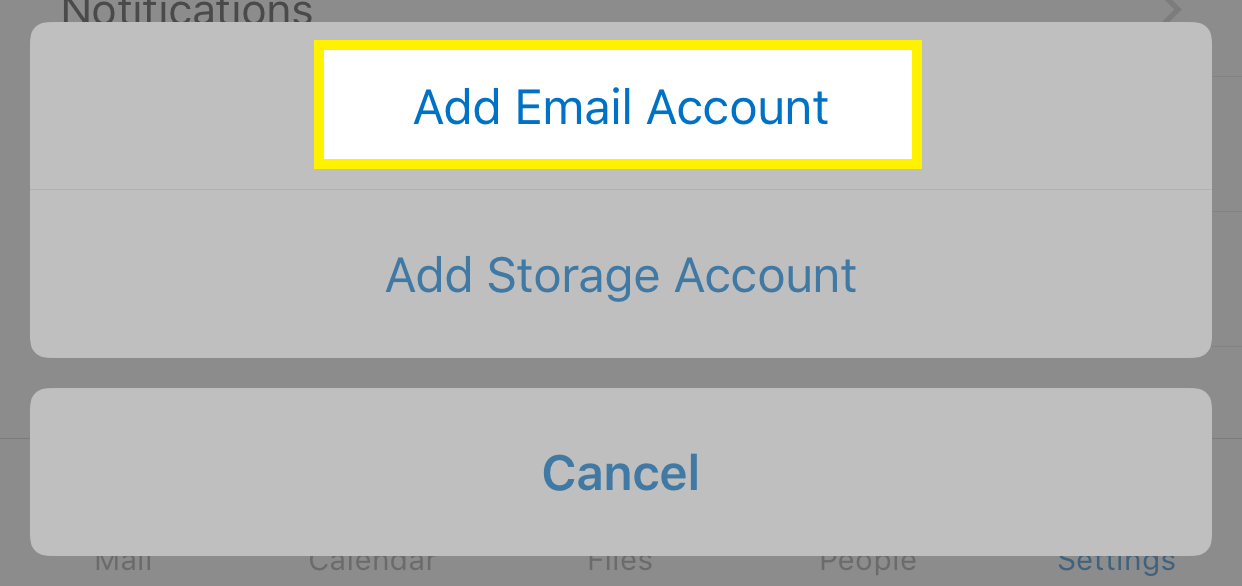
- Tap Add Email Account.
- Tap Settings in the bottom menu.
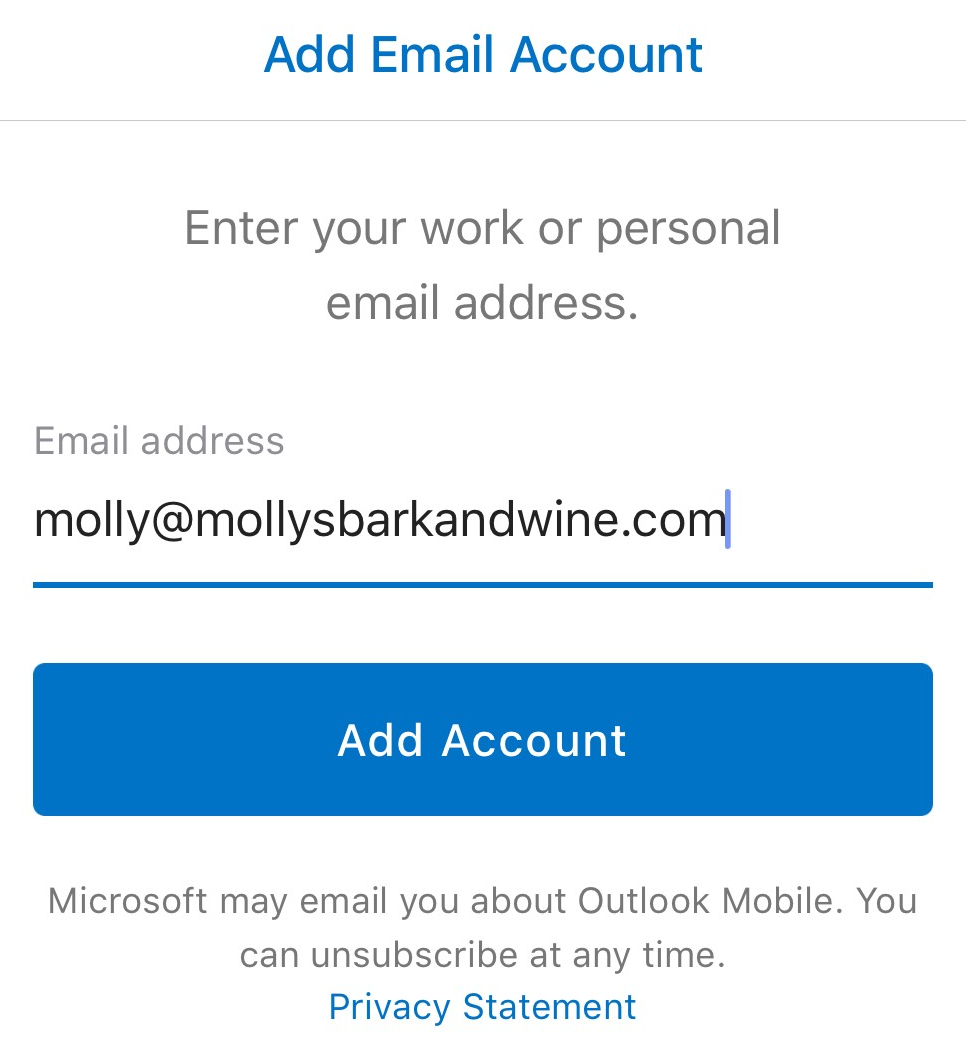
- Type your Business Email address in the field, and tap Add Account.
- Tap IMAP.

- Your Business Email address should be filled in. Tap Use Advanced Settings.
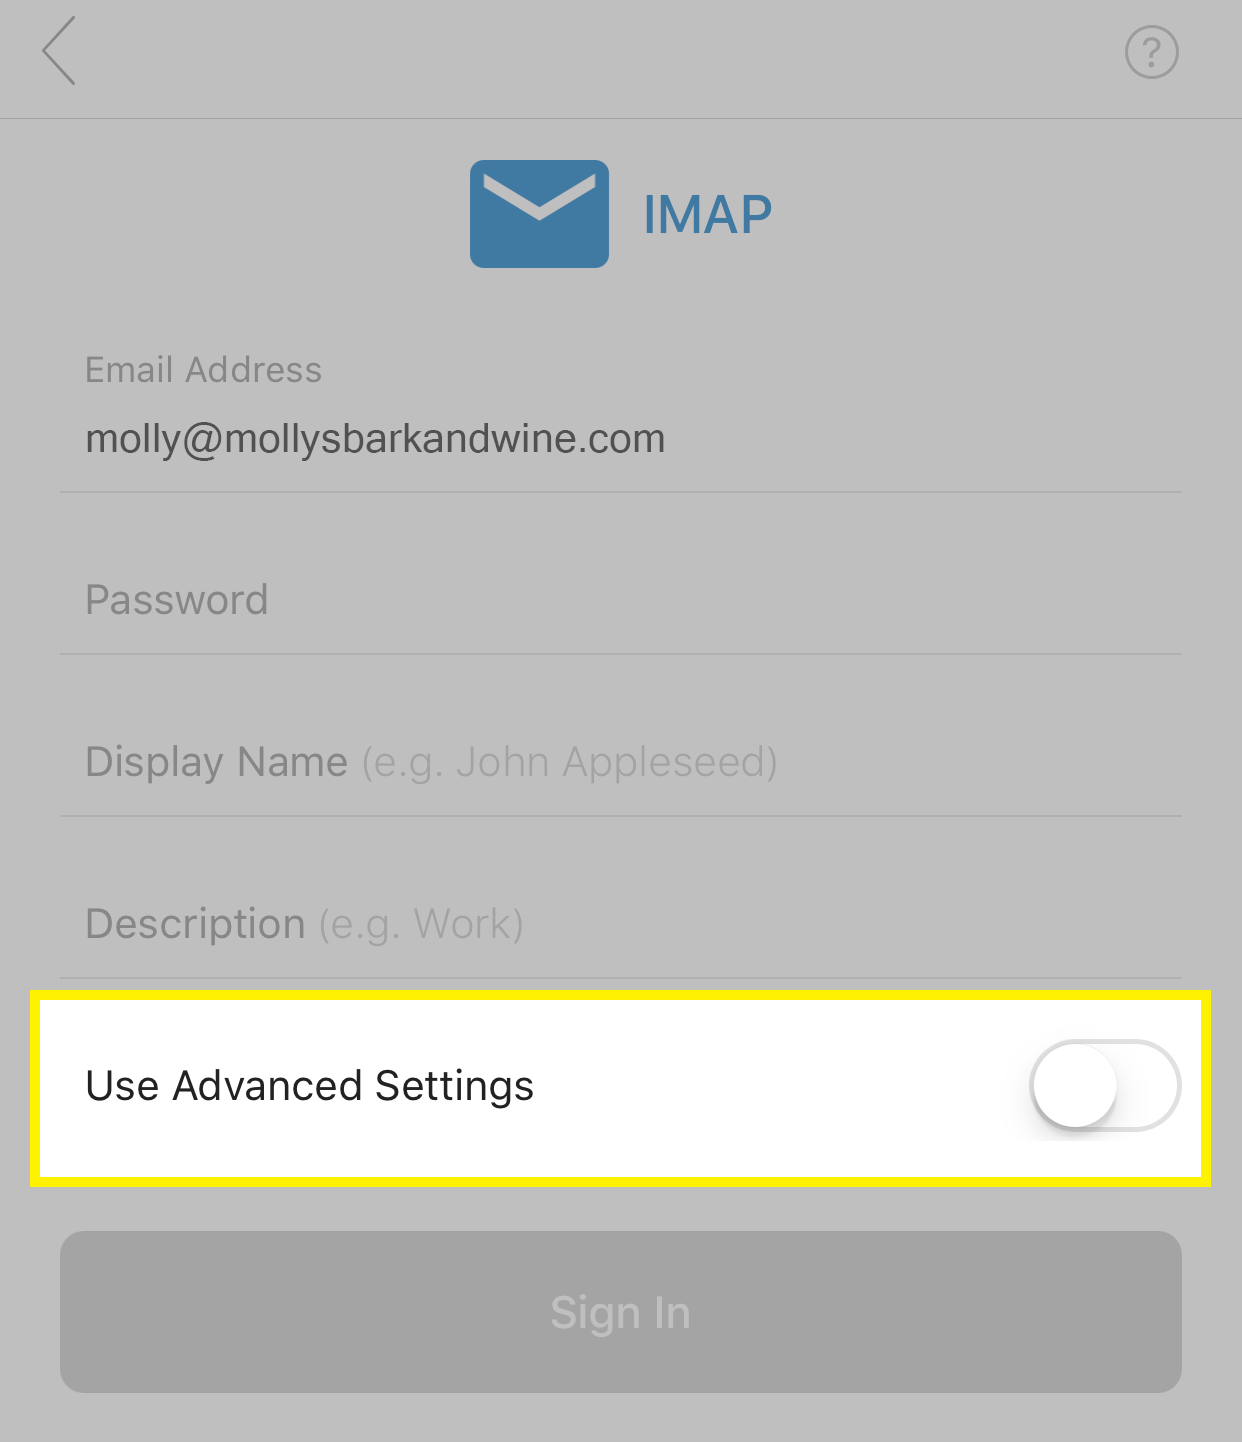 Enter the following information:
 - Tap Sign In.
- If you would like to add another account you can. Otherwise, tap Maybe Later.
- Send yourself an email to make sure your Outlook app is set up correctly.
- You can set up your email in the iPhone native email app, instead.
- Set up email on your desktop:
| Field | What to enter |
|---|---|
| Display Name | The name you want to show to others when they receive your emails. |
| Description | An optional reference for you about this account. No one else will see this. |
| IMAP Hostname | The correct incoming server address for your region, found here. |
| IMAP Username | Your full Business Email password. |
| IMAP Password | Your Business Email password. |
| SMTP Hostname | The correct outgoing server address for your region, found here. |
| SMTP Username | Your full Business Email password, again. |
| SMTP Password | Your Business Email password, again. |
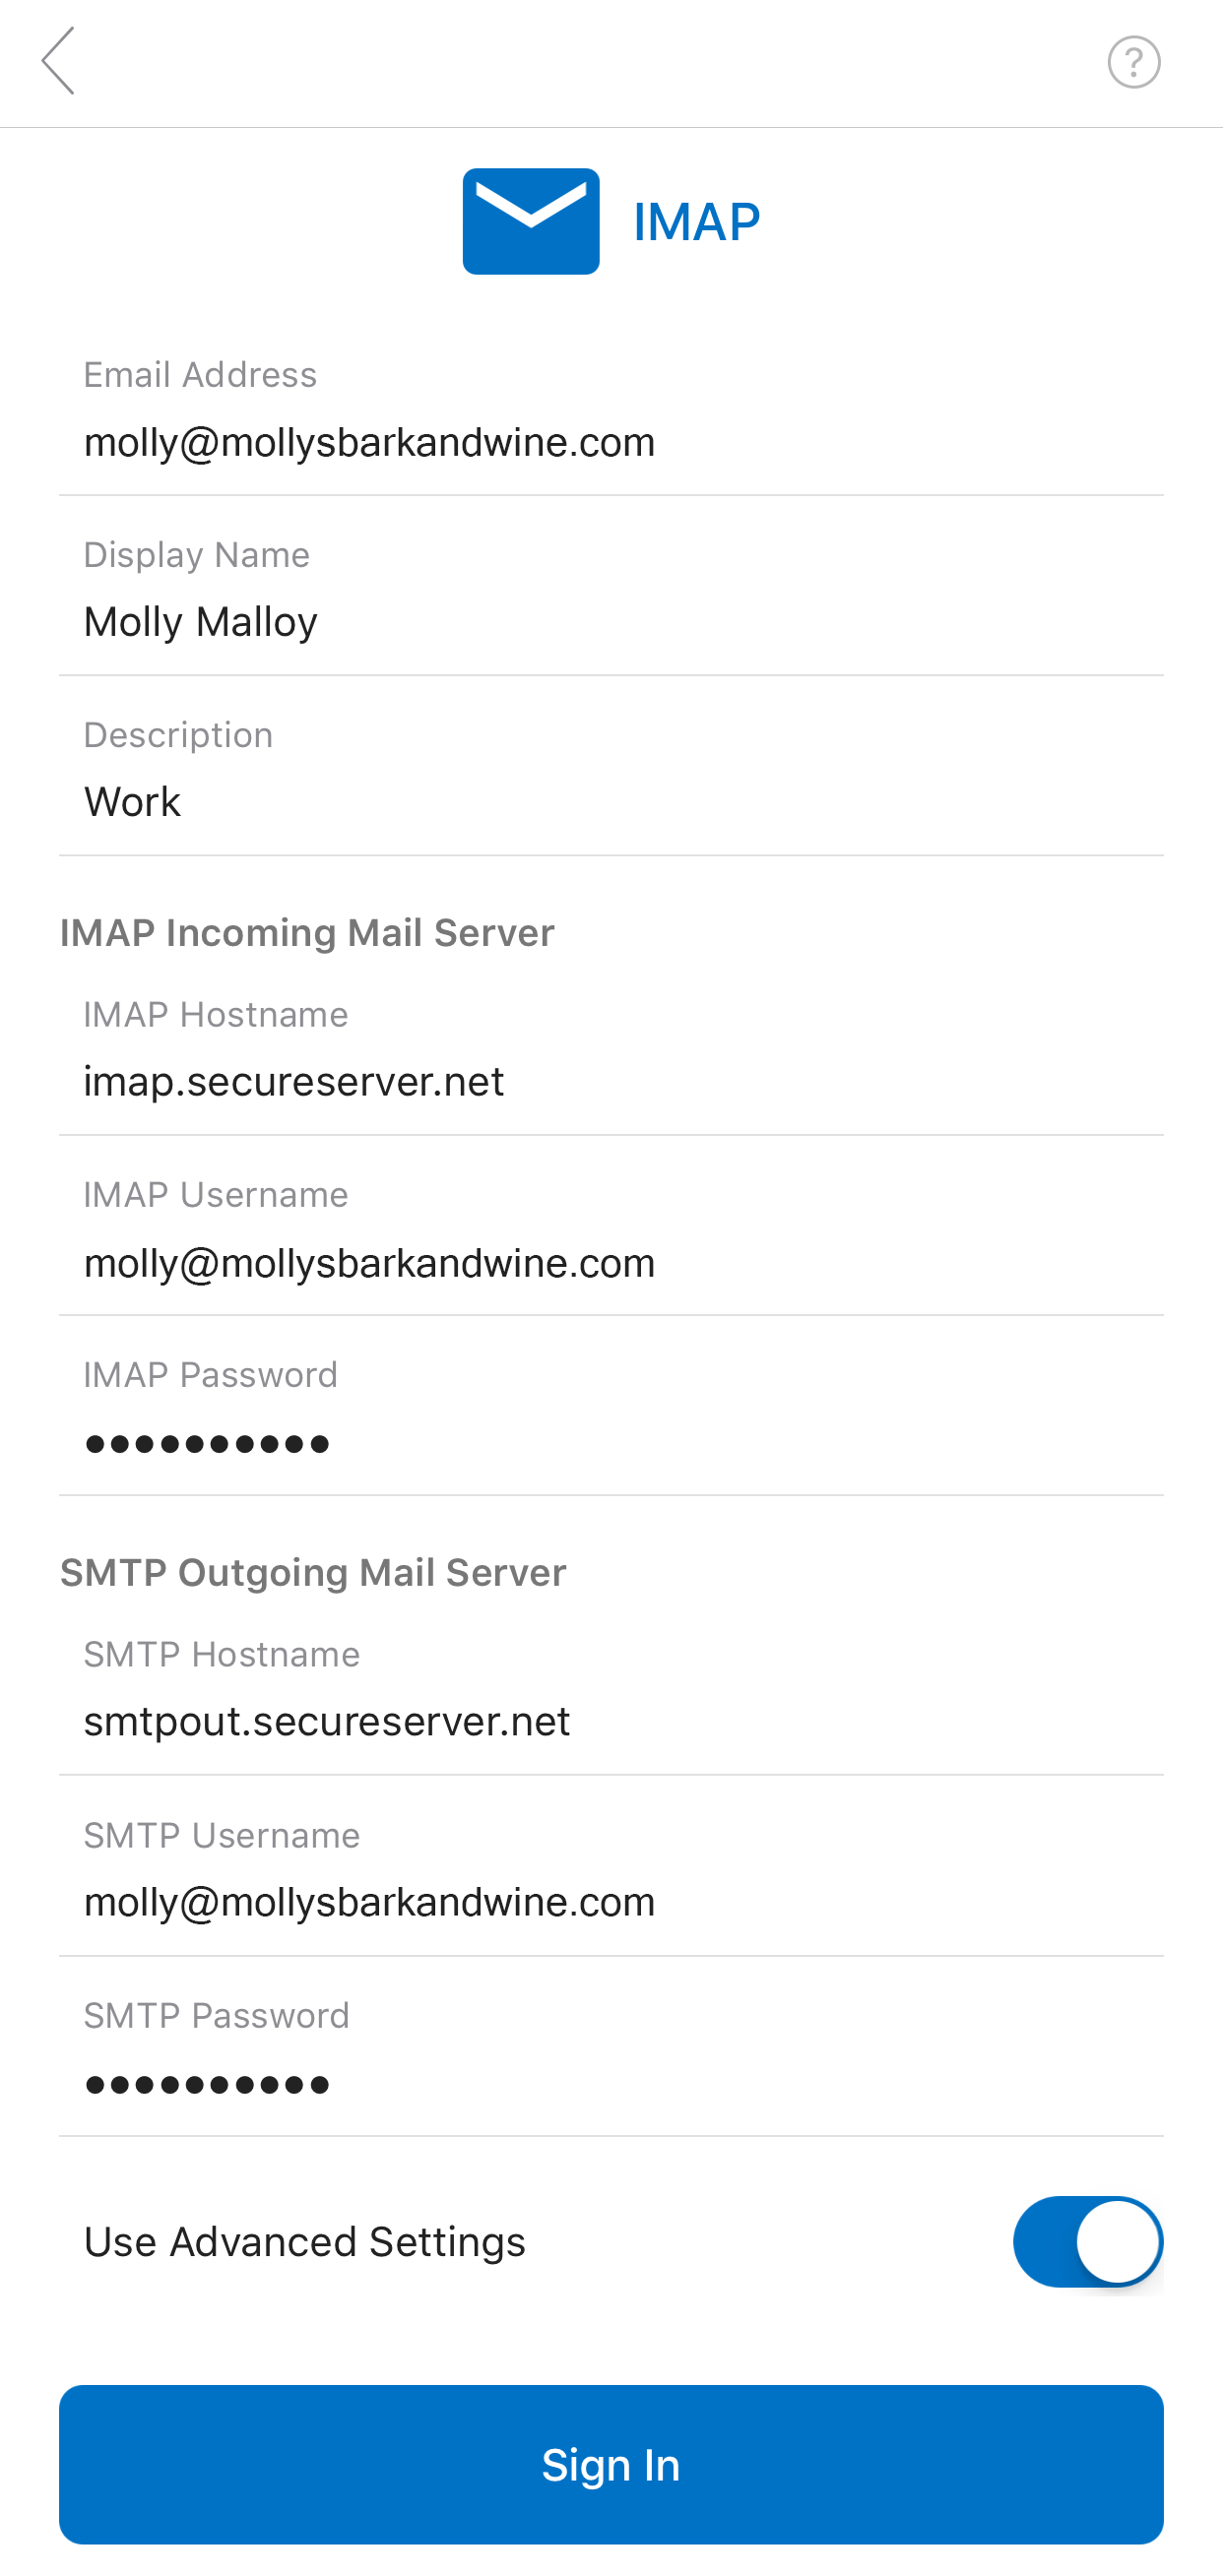 Note: If you would like to add a port number to your incoming or outgoing server settings, type a colon :, followed by the port number, with no spaces. For example, imap.secureserver.net:993
Next step
More info
Note: As a courtesy, we provide information about how to use certain third-party products, but we do not endorse or directly support third-party products and we are not responsible for the functions or reliability of such products. Third-party marks and logos are registered trademarks of their respective owners. All rights reserved.