Add my Professional Email to Mail on iPhone or iPad
Step 5 of the Set up my Professional Email series.
Add your Professional Email account to the Mail app on your iOS device. Then you can send and receive email from your iPhone or iPad.
- Open
 Settings.
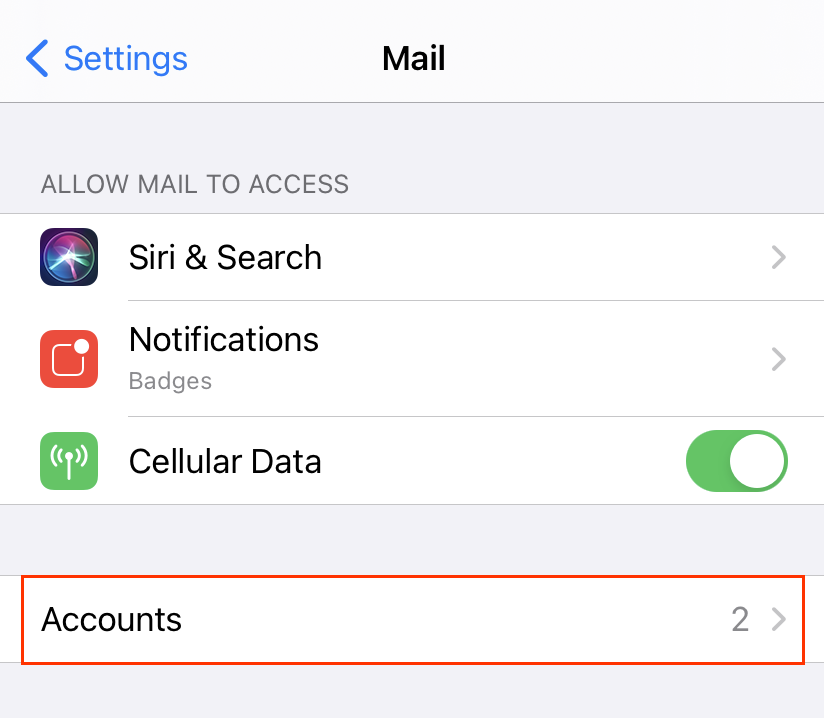
 - Tap Mail, and then Accounts. Depending on your iOS version, you might need to tap Passwords & Accounts.
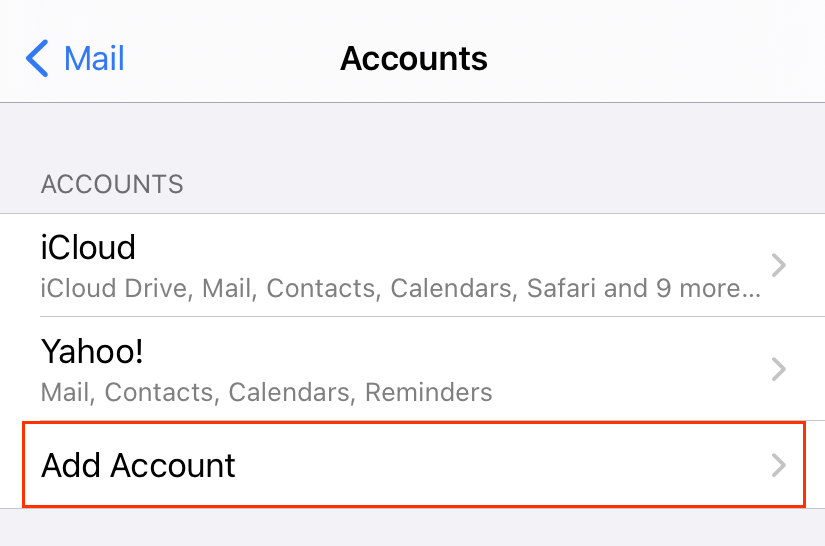
- Tap Add Account.
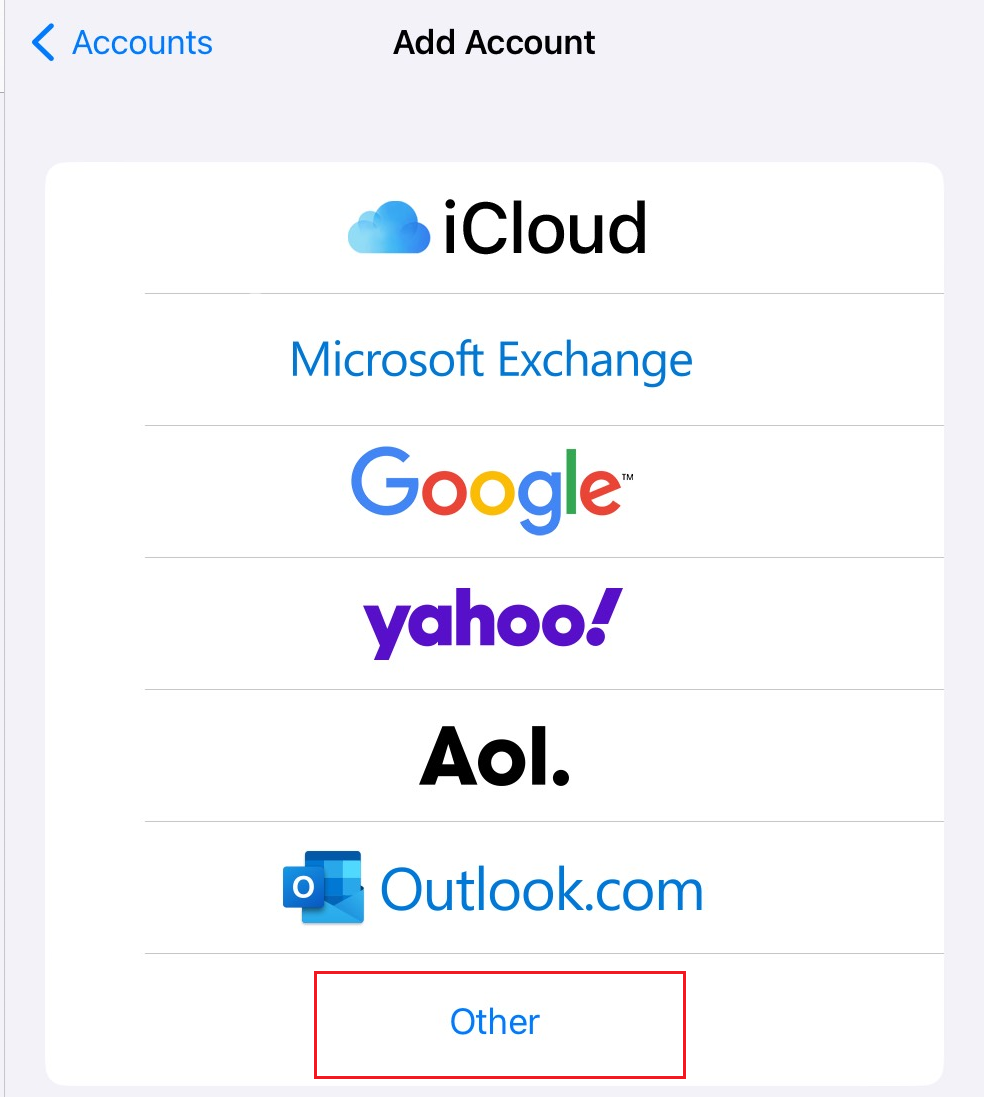
- Tap Other.
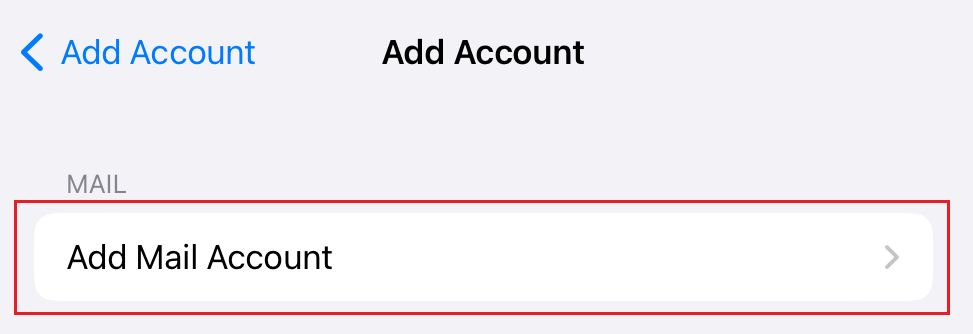
- Tap Add Mail Account.
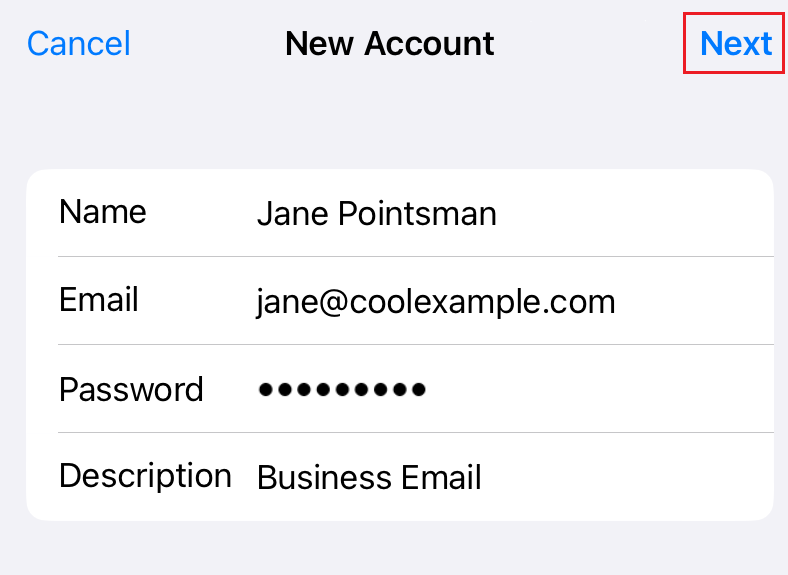
- Enter your account details, and then tap Next.
- Under New Account, make sure IMAP is selected.
- In the Incoming Mail Server section, enter:
- Host name as imap.secureserver.net
- Your Professional Email User Name and Password
- In the Outgoing Mail Server section, enter:
- Host name as smtpout.secureserver.net
- Your Professional Email User Name and Password
- Tap Next.
- Tap Save. You can come back and update settings here at any point.
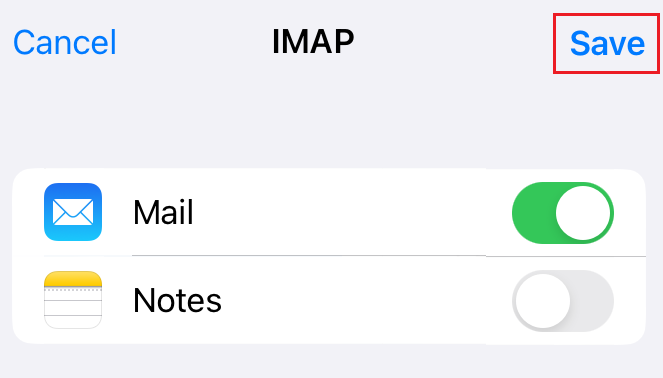
Your Professional Email is now set up on the Mail app.
More info
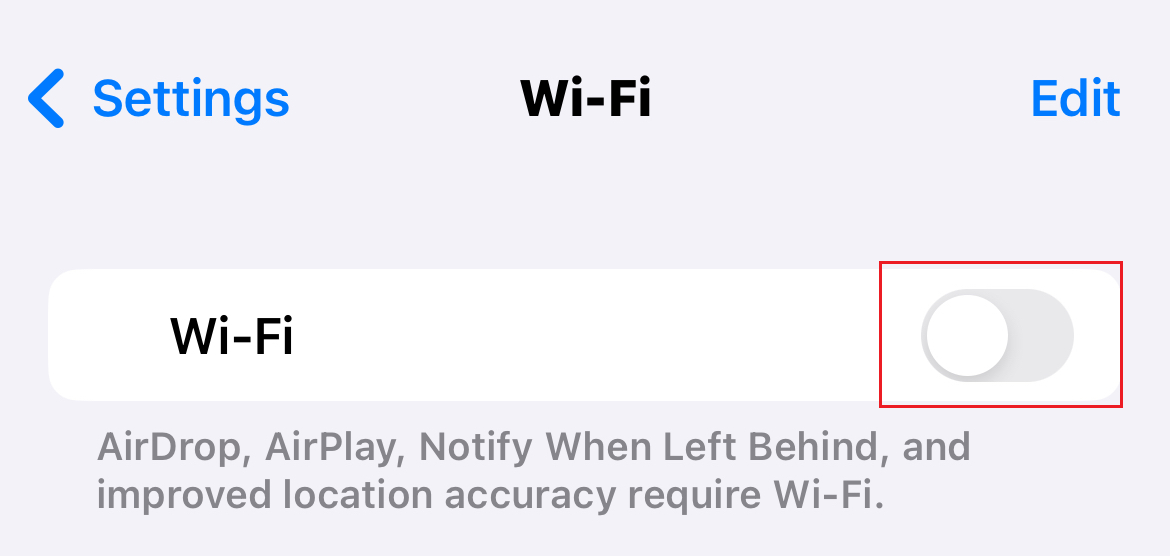
- If the Mail app can't discover your email account, tap Wi-Fi and turn off the toggle, then follow the steps again. When you're done, turn your Wi-Fi back on.
