Allow or block website access
Website Security firewall can allow or block IP addresses from accessing your site.
- Allowed IP Addresses aren't blocked by firewall security rules that restrict access by IP address to WordPress administration panels like administrator or wp-admin.
- Block IP Addresses blocks all access to your website from the IP address.
Note: It's helpful to clear the cache after allowing or blocking an IP address.
- Go to your GoDaddy product page.
- Under Website Security and Backups, next to the Website Security account you want to manage, select Manage.
- Under Firewall, select Details.
- Select Settings.
- Select Access Control.
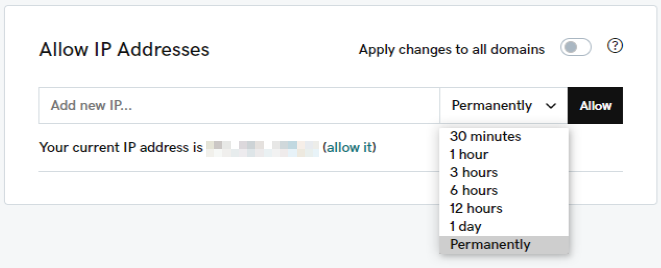
- Select Allow IP Addresses to allow an address, or select Block IP Addresses to block an IP address.
- Type the IP address into the Add new IP… text box, and then select how long you want to allow or block the address.
Note: If you have multiple domains and want to allow or block this IP address for all your domains, select Apply changes to all domains.
- Select Allow or Block to add the address to the list.

Allow an IP address using the WAF API
If you'd like to allow your IP address without accessing the firewall dashboard every time, you can do so by using the firewall API link.- Go to your GoDaddy product page.
- Under Website Security and Backups, next to the Website Security account you want to manage, select Manage.
- Under Firewall, select Details.
- Select Settings.
- Select API.
- Select the Allow IP link.
- A new tab will open with the link that will automatically allow your IP address. You can bookmark the link in your browser and visit the link whenever you need your current IP allow listed.
- You can also send this link to other administrators to easily allow their IP.
What to do when blocked by the firewall
If you've been blocked by the firewall, a block message will appear that provides you with details of the block. To avoid the block, disable the firewall rules temporarily with the following instructions.
- Go to your GoDaddy product page.
- Next to Website Security and Backups, select Manage All.
- For the domain you experienced the block for, select Details under Firewall.
- On the right side of the page, select the ellipsis menu
 and Select Disable Firewall.
 - A warning will appear asking if you are sure you want to disable the firewall, select Disable Firewall.
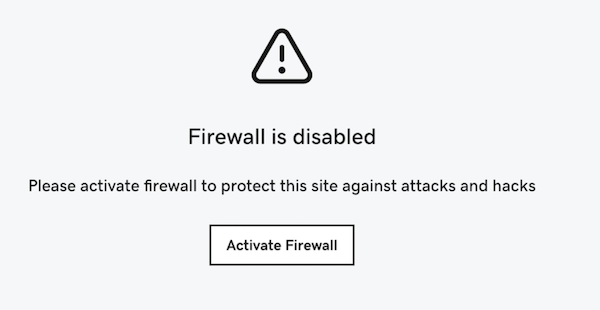
Once you've finished with the work that you were previously being blocked on, you can enable the firewall rules once again. Just go back to your firewall dashboard and select Activate Firewall.
