Enable or disable multi-factor authentication (MFA)
Multi-factor authentication (MFA) prevents unauthorized access to your Microsoft 365 account. MFA requires a verification method, like a code sent to you in a text message, whenever you sign in to your account. If your password is ever compromised, attackers can't duplicate this verification method and are blocked from accessing your account.
Enable and enforce multi-factor authentication
To require users to use a sign-in verification method whenever they access their accounts, turn on MFA.
- Sign in to the Per-user multifactor authentication page. Use your Microsoft 365 email address and password (your GoDaddy username and password won't work here).
Note: If you’re not an admin but try to access the page, you’ll see an error message saying you don't have access.
- To enable MFA for a specific user, next to their name, select the checkbox. You can select multiple users.
- Above the list of names, select Enable MFA.

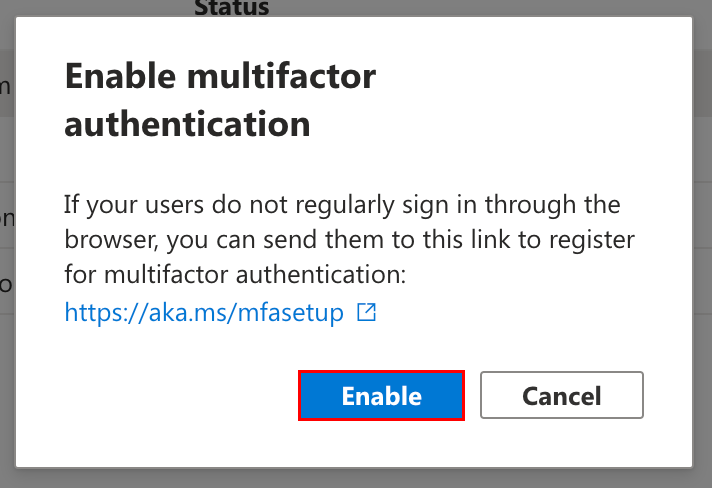
- In the confirmation window, select Enable. MFA will be enabled for the selected user(s).

- Next to the same user(s), select the checkbox.
- Above the list of names, select Enforce MFA. MFA will be enforced for the selected user(s).

- Set up a sign-in authentication method for each user that had MFA enforced (you can send these instructions to each of your users if you don't have access to their accounts):
- Sign out of Outlook on the web.
- Sign in to the Security info page. If you see a message that more information is needed, select Next.
- Set up a sign-in method. You can use this article to walk through the steps.
You're good to go! MFA has been enabled and enforced for the selected users. We recommend adding another sign-in method in case you lose access to your primary method.
Disable multi-factor authentication
If you want to stop requiring a verification method for the selected users, you can turn off MFA. Users will only need their email address and password to sign in after MFA is disabled.
- Sign in to the Per-user multifactor authentication page. Use your Microsoft 365 email address and password (your GoDaddy username and password won't work here).
- If you don't have access to your MFA authentication method, reset MFA first.
- To disable MFA for a specific user, next to their name, select the checkbox. You can select multiple users.
- Above the list of names, select Disable MFA.

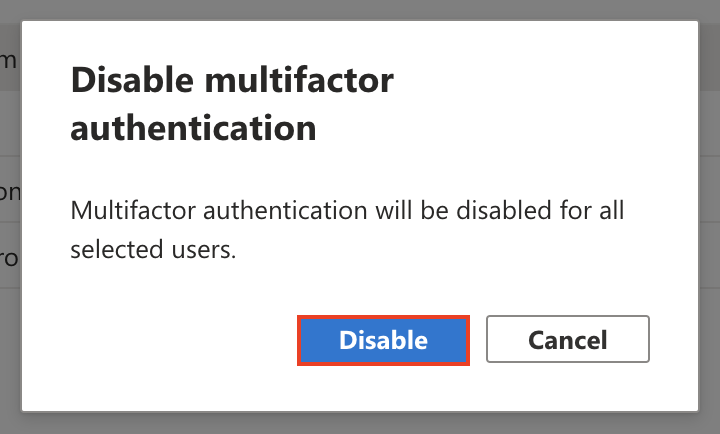
- In the confirmation window, select Disable. MFA will be disabled for the selected user(s).

Related steps
- Change or delete my multi-factor authentication method
- I can't access my multi-factor authentication method
More info
- To enable MFA for all users in your organization and require additional verification for admins, enable security defaults.
- When securing your mailbox, you might want to sign out of all devices and reconnect using MFA.
- We also recommend securing your GoDaddy account with 2-step verification.
- If you have a Microsoft 365 from GoDaddy account, check out the Welcome Guide for Microsoft 365 from Microsoft for more help securing and setting up your email.