Enable Secondary DNS with GoDaddy nameservers as secondary nameservers
Secondary DNS allows you to have your domain's DNS zone file backed up automatically onto a second set of nameservers. The secondary set of nameservers will have a zone file identical to the primary nameservers, and if the primary set goes down, Secondary DNS will automatically send requests to the secondary set. You must have Premium DNS on your domain to use Secondary DNS. You cannot use DNSSEC and Secondary DNS on the same domain name.
To use GoDaddy nameservers as the secondary nameservers, you'll need to make sure your own nameservers are set as the primary nameservers. You must enable your primary nameserver set to allow AXFR requests from IP ranges 50.63.22.0-50.63.22.255 and 208.109.132.0-208.109.132.255. For best performance, set your primary to send NOTIFY messages to 97.74.112.1 and/or 97.74.112.2.
Note: If you set GoDaddy nameservers as secondaries, your zone file becomes read-only. All DNS changes must be made to the primary nameserver set.
- Sign in to your GoDaddy Domain Portfolio. (Need help logging in? Find your username or password.)
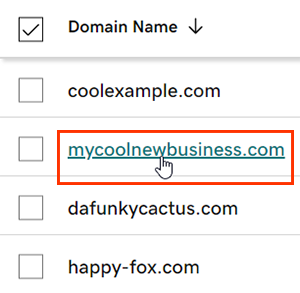
- Select an individual domain to access the Domain Settings page.

- Select DNS and then select Secondary DNS.

- Under Enabled, select On.
- Select Secondary from the options under Configure zone as.
- Select ADD and enter your secondary DNS details.
- Start IP Address: Enter the beginning of the IPV4 IP address range for your primary nameservers.
- End IP Address: Enter the end of the IPV4 IP address range for your primary nameservers.
- TSIG Type: Select the algorithm (hash function) to use for authenticating your transactions. If you don't want to use TSIG, select None.
- (Optional) TSIG Name: Enter a unique name for the TSIG key.
- (Optional) TSIG Value: Enter a value for the TSIG key. This value is a password that both nameserver sets share and use to authenticate requests.
- Below Allow notify from, select Add and then enter your IP address ranges.
- Start IP Address: Enter the beginning of the IPV4 IP address range for your primary nameservers.
- End IP Address: Enter the end of the IPV4 IP address range for your primary nameservers.
- Select Add and then select Apply to save your changes.
Most DNS updates take effect within an hour but could take up to 48 hours to update globally.
Related step
- If you change your mind, you can disable Secondary DNS at any time.
More info
- Create a template to quickly apply DNS records to your domains.
- Keep your domains organized with folders and preset profiles.