Set up out-of-office auto-reply in Outlook
Create an out-of-office auto-reply that tells people you’re away and may not be responding to their message. Each person that sends you a message receives an automatic reply. Add information like when you're returning or when they can expect a reply from you.
Select the appropriate tab based on the email platform you’re using.
- Sign in to Outlook on the web. Use your Microsoft 365 email address and password (your GoDaddy username and password won't work here).
- In the upper-right corner, select
 Settings.
 - Select Account, and then Automatic replies.
- Turn on the Turn on automatic replies toggle.
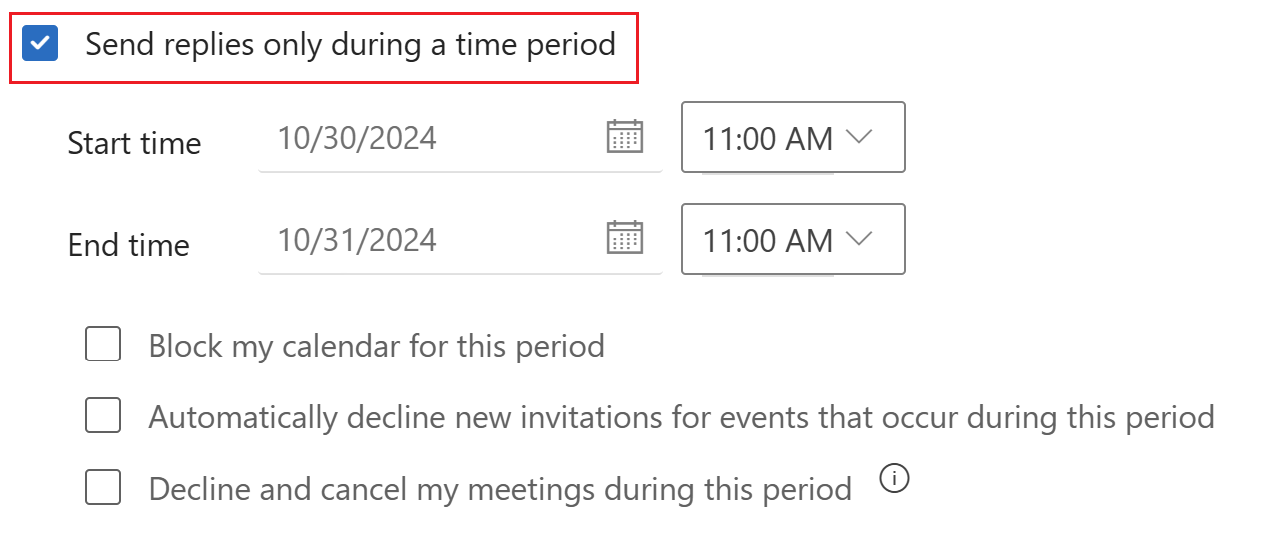
- Next to Send replies only during a time period, select the checkbox, and then a start and end time.
- If you don't select the checkbox, your automatic reply remains on until you turn off the Automatic replies on toggle.

- Enter your away message in the textboxes. You can use color and special font to personalize your message.

- For a sender inside of your organization: Enter your away message in the Send automatic replies inside your organization textbox.
- For a sender outside of your organization: Next to Send replies outside your organization, select the checkbox. You can also choose to Send replies only to contacts by selecting the checkbox. Enter your away message in the textbox.

- At the bottom of the window, select Save.
You'll see a notification, in the upper-right corner, that automatic replies are on.

Senders will now receive your automatic reply. Senders inside your organization will see a banner while they're composing their message, notifying them of your automatic reply, before they even send their message.
There are now 2 versions of Outlook for Windows: new Outlook and classic Outlook. Before continuing to the steps below, check which version you’re using.
New Outlook
If the steps in this section don't work, you might not be using new Outlook yet. Try the steps in the Classic Outlook section instead.
Upon activation, you can add additional email plans, such as Email Essentials, Email Plus, or Online Business Essentials.
- Open Outlook.
- In the upper-right corner, select
 Settings.
 - Select Accounts, and then Automatic replies.
- Choose the account that you want automatic replies turned on for.

- Turn on the Turn on automatic replies toggle.
- Next to Send replies only during a time period, select the checkbox, and then a start and end time.
- If you don't select the checkbox, your automatic reply remains on until you turn off the Automatic replies on toggle.

- Enter your away message in the textboxes. You can use color and special font to personalize your message.

- For a sender inside of your organization: Enter your away message in the Send automatic replies inside your organization textbox.
- For a sender outside of your organization: Next to Send replies outside your organization, select the checkbox. You can also choose to Send replies only to contacts by selecting the checkbox. Enter your away message in the textbox.

- At the bottom of the window, select Save.
You'll see a notification, in the upper-right corner, that automatic replies are on.

Senders will now receive your automatic reply. Senders inside your organization will see a banner while they're composing their message, notifying them of your automatic reply, before they even send their message.
Classic Outlook
If the steps in this section don't work, you might not be using classic Outlook. Try the steps in the New Outlook section instead.
- Open Outlook.
- In the upper-right corner, select File.
- Select Automatic replies.

- Select Send automatic replies.
- Next to Only send during this time range, select the checkbox, and then a start and end time.
- If you don't select the checkbox, your automatic reply remains on until you select Do not send automatic replies.

- Enter your away message in the textboxes. You can use color and special font to personalize your message.
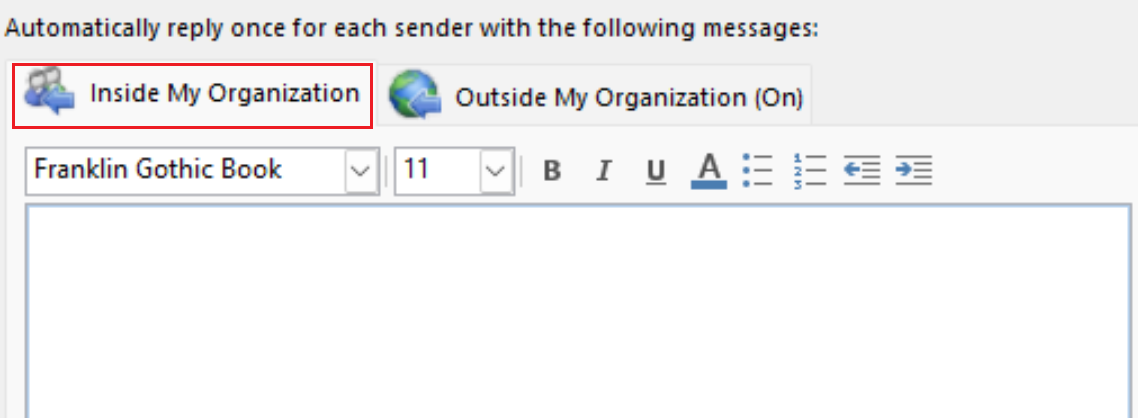
- For a sender inside of your organization: Select Inside My Organization, and then enter your away message.

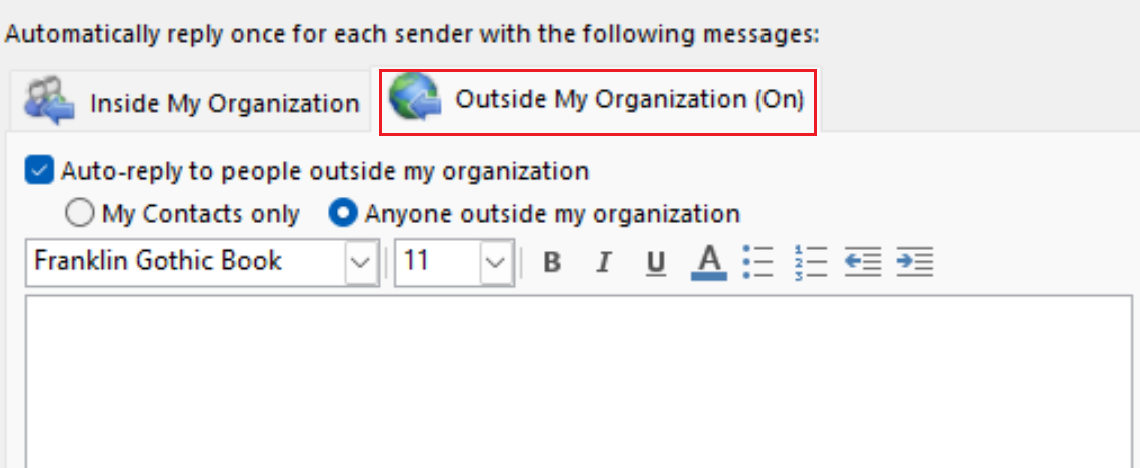
- For a sender outside of your organization: Select Outside My Organization (On), and then enter your away message. You can also choose to send replies to My Contacts only or Anyone outside my organization.

- At the bottom of the window, select OK.
You'll see a banner notifying you that automatic replies are on.

Senders will now receive your automatic reply. Senders inside your organization will see a banner while they're composing their message, notifying them of your automatic reply, before they even send their message.
- Open Outlook.
- Select Tools, and then Automatic Replies.
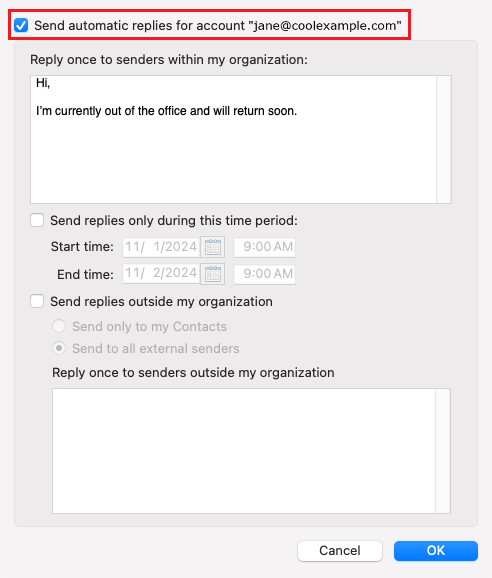
- Next to Send automatic replies for account, select the checkbox.

- Enter your away message in the textboxes.
- For a sender inside of your organization: Under Reply once to each sender within my organization, enter your away message. Next to Send replies during this time period, select the checkbox, and then the start and end times.
- For a sender outside of your organization: Select Send replies outside my organization. Select Send only to my Contacts or Send to all external senders, and then, under Reply once to senders outside my organization, enter your away message.
- Select OK.
You'll see a banner notifying you that automatic replies are on.

Senders will now receive your automatic reply. Senders inside your organization will see a banner while they are composing their message, notifying them of your automatic reply, before they even send their message.
Related steps
- Find out how to switch to the new Outlook for Windows from Microsoft.
- To access Outlook on the web, sign in to your Microsoft 365 account.