Due to the COVID-19 (coronavirus), many small businesses have had to minimize their hours or shutter their brick-and-mortar locations for the time being. While they might have WordPress websites in place, they may not have embraced ecommerce — until now. Temporarily furloughed employees with blogs and hobby websites on WordPress are also looking for ways to generate income by setting up an online side hustle in the interim. Install WooCommerce.
Types of businesses that might benefit from WooCommerce
A couple examples of businesses that might benefit from switching over from in-person business to virtual / ecommerce models are:
Restaurants. Put your menu online and offer delivery or curbside pickup. Sell gift cards for future use.
Service businesses: Customers can purchase future services, gift certificates/cards.
Retail establishments: Offer virtual tours or Facebook Live sessions that guide folks to the products in your physical store that you’ve added to your new online store. Fill out WooCommerce carts for customers when they phone in.
Why consider install WooCommerce for WordPress websites?
If you have a WordPress website for your blog, hobby or brick-and-mortar, adding WooCommerce is a great option to get an eCommerce platform up and running in no time. Your customers can then order or have access to your products and services online.
Today, we’re going to provide a quick guide for new WooCommerce users.
Taking this time now to set up and configure your new storefront is something you can continue to benefit from when the dust settles and is back to business as usual.
One of the reasons entrepreneurs gravitate to WordPress is its plugin architecture that lets you add new functionality on top of it. You can add nearly anything you can imagine. Their official plugin repository has 55,000 plugins (at the time of writing, and counting). The same applies to WooCommerce — tons of plugins and extensions are available to meet your needs.
It allows you to configure your products, choose tax and shipping settings, provide payment options, and create transaction emails. You can add more functionalities through free or paid extensions (and there are thousands of them).
So if you already have a WordPress website, or are looking for a flexible feature-rich way to get up and running on WordPress, this is a combo you should consider.
WooCommerce lets you sell anything, whether it be physical or digital products.
Related: Advance planning for your new WordPress eStore when using WooCommerce and 15 free WooCommerce extensions for new eCommerce sites
How to install WooCommerce
Here is how you can start your eCommerce store in just a few steps.
First, check with your web host to make sure they support WordPress so that you can install it. Most hosts have installation tools for you, or you can do it yourself.
The best approach is to have WordPress hosting that caters to the unique resource and database needs that WordPress, then combined with WooCommerce, will require. (GoDaddy offers a WordPress ecommerce plan that comes with a pre-installed online store powered by WooCommerce, plus a variety of premium extensions including Advanced Notifications, WooCommerce Brands and more.)
After installing WordPress on your hosting plan and logging in, go to Plugins > Add New.
In the top-right corner you’ll see a “Search plugins…” box. Click it and enter WooCommerce. Search will automatically start, and you’ll see a list of plugins.
Identify the WooCommerce box and click Install Now. After a few seconds, the installation will finish and the Activate button will appear. Click Activate.
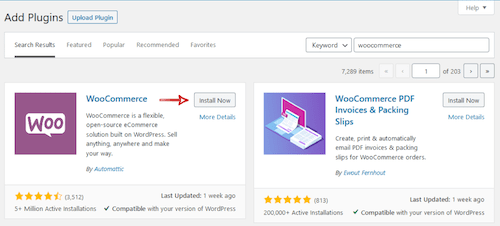
Setting up WooCommerce for the first time
Now you have WooCommerce installed and activated on your site (in WordPress, plugins have two states: installed and active. A plugin will not be in use until it is in active state).
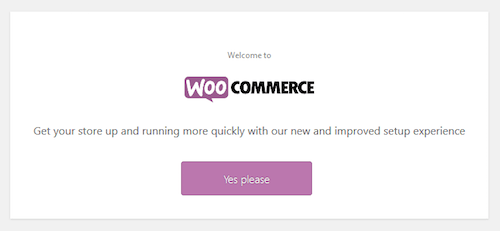
Right after activation, WooCommerce will prompt a wizard so you can start basic configuration:
The next screen will show you all the features that can be added with one click by including the Jetpack plugin in your installation:
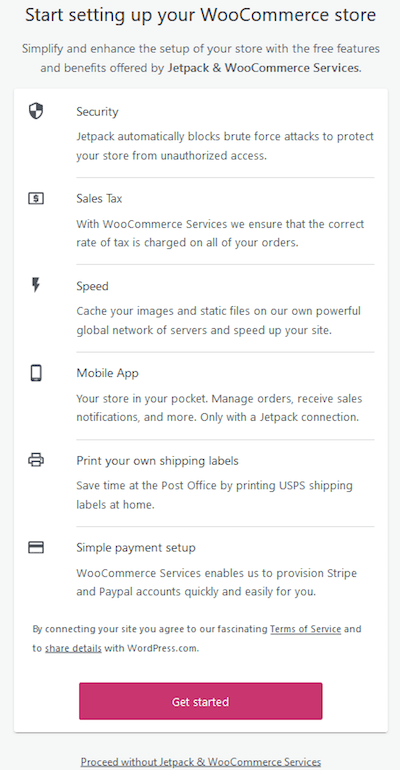
Click Get Started to go to the next step to install Jetpack. For this quick and easy setup we’re going to get right to setting up WooCommerce. Don’t worry, you can add or remove Jetpack at a later date if you change your mind.
A small pop-up box will display, noting:
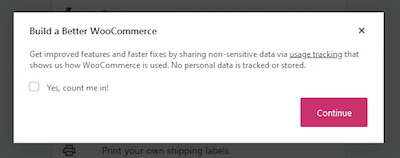
Choose if you want to participate by checking the box. Otherwise, click Continue.
The next steps are going to cover your store details, industry, product types and business details, with the last step selecting your theme.
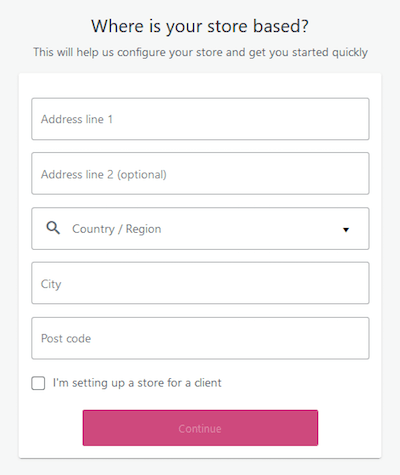
What industry are you in?
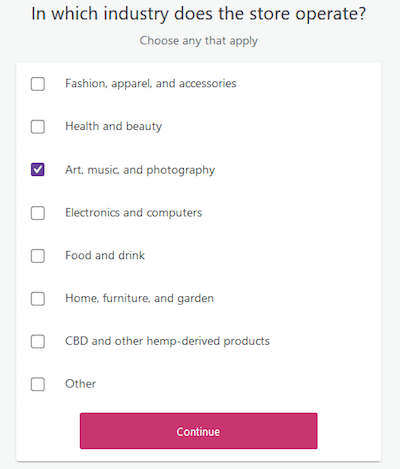
Next, select the industry that your business is in:
What type of products do you offer?
Now we’re going to select the types of products that you want to offer. You’ll see “Learn More” links that hop over to premium extensions that add the necessary functionality that you want to integrate.
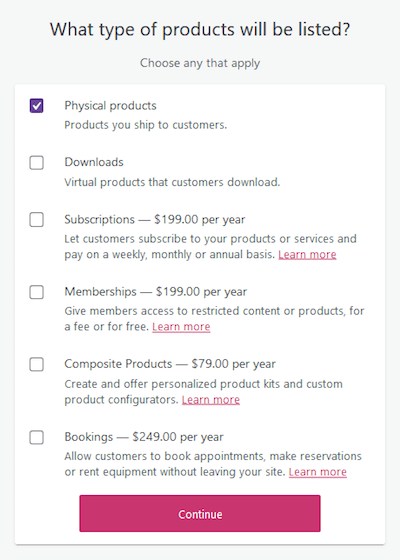
Here again, you can skip adding specific functionality now so that you can investigate other plugin options if you so choose. That’s the beauty of WordPress and WooCommerce — nothing is in stone and you can add or deactivate any plugin or extension if you change your mind or want to use something else.
Tell us about your business
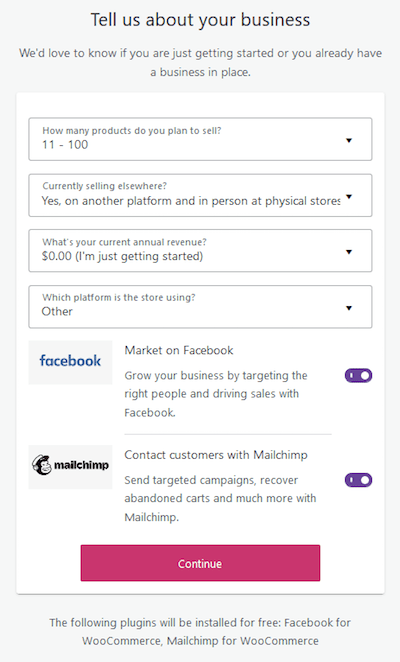
The next group of selections allows WooCommerce to make additional recommendations. Choose the options that best match if you are just starting out or have an established online presence elsewhere.
Setting up your store details
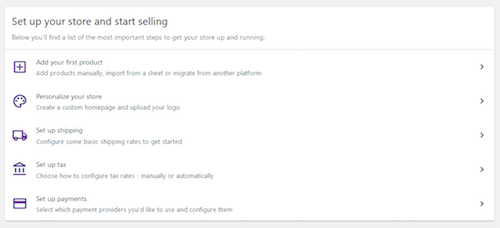
Here are the steps that you can go through one-by-one to customize your virtual store with your products and details.
Go through each step and customize to your specific products or services.
Adding your first product
You’ll notice at the top of WooCommerce that there is a notification to “Design your store” — you can do this at any time, Including adding example products that you can use as a guide.
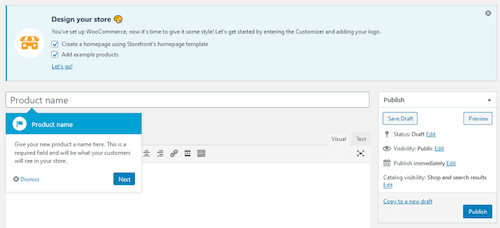
The first fields you’ll see when adding a product are the product name and description fields.
Being this is a new WooCommerce install, you’ll also see little tips pop-up along the way to guide you.
Product types
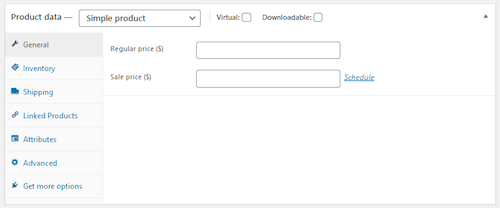
The Product data box is where you’ll enter the characteristics of the product.
Every product must be of a specific type. By default, WooCommerce offers these types:
Simple product — This is the most common type. It covers great single products you may sell. For example, a book.
Grouped product — By selecting this type you won’t create a new product, but rather you’ll need to select previously created simple products. Usually they are related, so you can sell them in a bundle-like presentation. For example, a smartphone, cover and earphones.
External/Affiliate product — Lists and describes a product in your store, but the sale is made elsewhere.
Variable product — A product with variations. Each variation can have it’s own SKU, price, stock option, photos, etc. For example, a shirt with different color and/or size options.
You also have the option to select the options Virtual (for example, a service) or Downloadable (for example, a digital product, like an eBook).
The Product data box will change according to the type, displaying options that are inherent for that kind of product.
For detailed information on each section under Product data, take a look at the official WooCommerce documentation.
Related: How to use WooCommerce to make money on WordPress
Product metadata
On the right side of your product page you’ll see meta boxes for product metadata.
In Product categories and Product tags boxes you can select a category/tag or create a new one on the go.
Product image is the main image for the product. This is the one that will be displayed in the product catalog, for example.
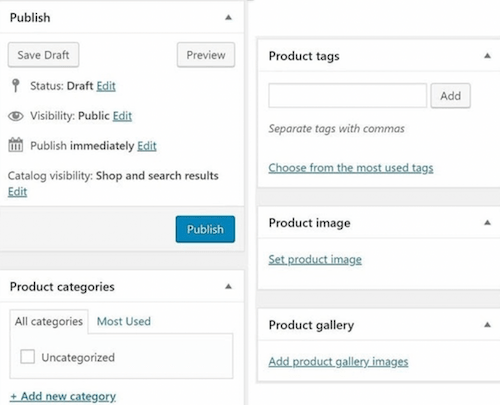
In the Product gallery you can select other images for the product. WooCommerce will create a gallery view when seeing details of the product.
The Publish box lets you select the current state of the product. The options cover:
Status — Inform if the product is a:
- Draft: Not ready for the public.
- Pending review: Like draft, but with a different label to review it later.
- Published: Your customers will see it.
Visibility — Set the product as:
- Public: Everyone sees it.
- Password protected: Customers will need to enter a password before seeing the product.
- Private: Only available to the user who created the product.
Publish — You can publish the product immediately or schedule a specific date and time when it’ll be available.
Short description
You know that text that is generally displayed on the side of the featured image? That’s the short description. It’s generally an excerpt, and not the full description of the product.
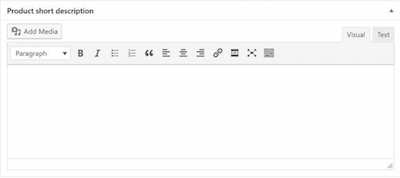
The full description (the one you set up after product name) is displayed for the customer in the Product Description tab. It’s aimed to be a complete description of the product.
Want more details on product creation? Check the official WooCommerce documentation.
Customizing the look of your store
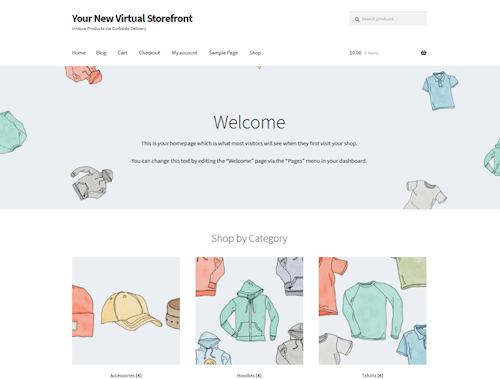
It’s all there. You can customize the look of your store by installing themes. There are thousands of them in the official WordPress theme repository.
We recommend the Storefront theme to start. It’s built by the same team that builds WooCommerce. It’s lightweight and fast, and offers a lot of customization options.
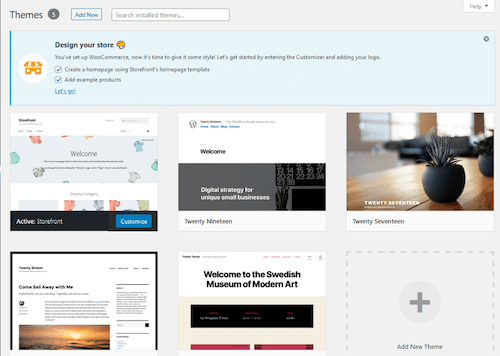
To install a theme go to Appearance > Themes, then click Add. Now search for Storefront in the search box. It should be the first option in the list. Hover over it, click Install, then Activate.
The Storefront theme will be installed with default settings. To customize it, go to Appearance > Customize. You’ll be prompted with a message to take a tour on the customizer tool. Take the tour so that you learn about how everything works.
You now have your online storefront in place and ready to start taking orders!
This article includes content originally published on the GoDaddy blog by Mitchell Callahan.


