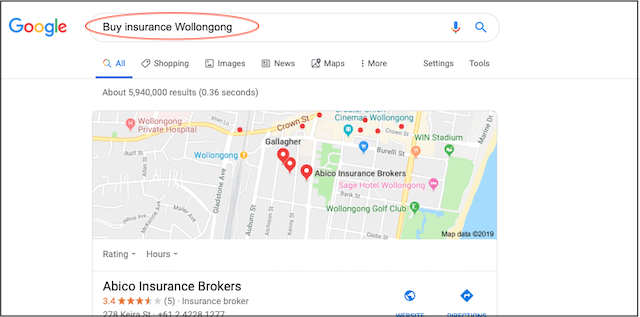
Google is the first place that many Australians turn when looking for insurance, which is why pretty much every insurance agent has a website. Sure, you can promote yourself on Facebook and Google MyBusiness, but a website makes you look like you’re serious. In this post, we’ll walk through how to make a website for an insurance company.
Creating your own website also helps your business rank higher in Google search results.
Plus a great insurance business website gives you the opportunity to impress visitors with details of:
- The types of insurance you offer
- Your qualifications and experience
- Profiles of the people on your team
- Comments from satisfied customers
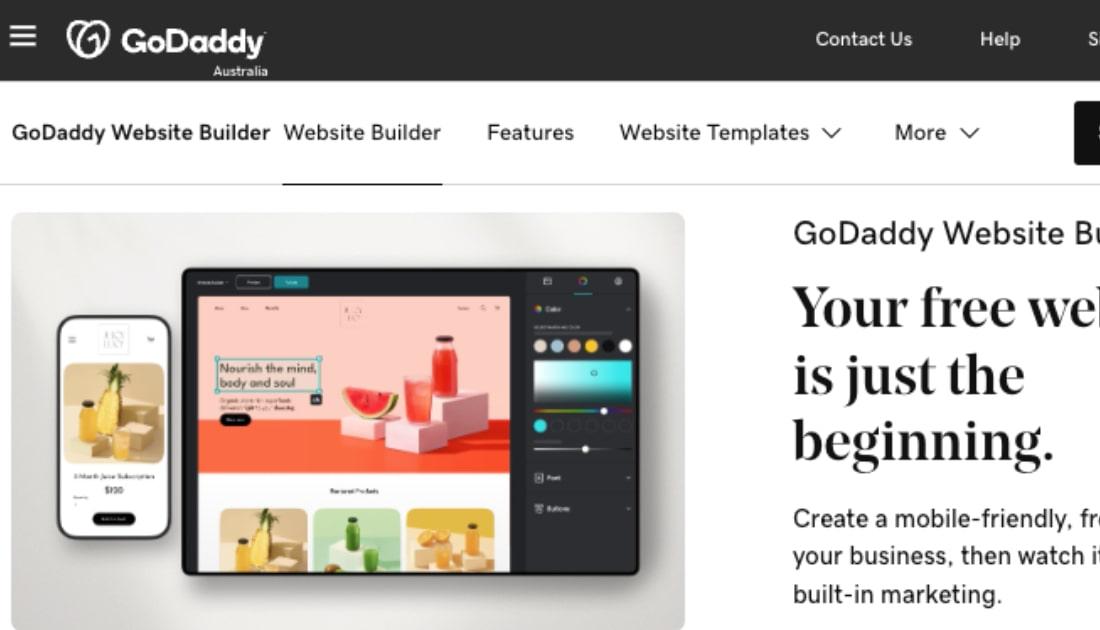
If you don’t have a tonne of time or money to devote to a website, GoDaddy’s Website Builder is a good choice. With this do-it-yourself tool, you can quickly and easily make a professional-looking website that will help you stand out from the crowd.
Editor’s note: Want the complete details on building a highly-optimised website? Bookmark this A to Z guide.
Make an insurance website in 5 steps
People look online for everything — including insurance. Here’s how to start getting your share of the attention.
- Start your free trial.
- Type in the basics.
- Get down to business.
- Open the lines of communication.
- Preview, tweak and publish.
Just follow these 5 steps to put your insurance service in front of millions.
1. Start your free trial
The first step to starting a website is to visit the GoDaddy website and click Start for Free then create an account or sign in using Facebook.
Thankfully you can take advantage of a one-month free trial, letting you get your business online without needing to put down any money up-front.
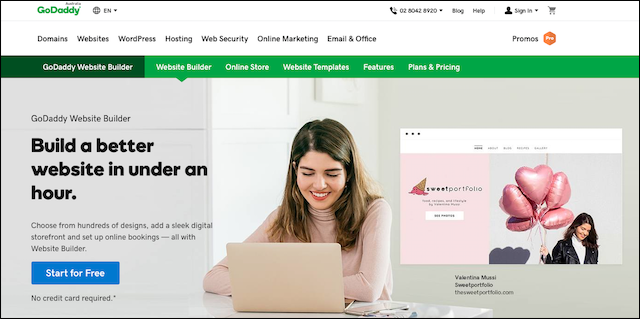
Starting a website might sound like a chore, but it's easy with GoDaddy's templates and tools. There's no need to learn new technologies or mess around with HTML and other code; all you need to do is:
- Choose a template (i.e. a website pre-built for your industry)
- Type in a few details about your business
- Add your own photos or use those in the free professional gallery
- Click Publish to get online
But first things first. Once you’ve clicked Start for Free, you’ll be presented with two questions. The first one is “What’s your industry?” This helps GoDaddy find a suitable style for your website. Start typing and then choose Insurance from the list that appears.
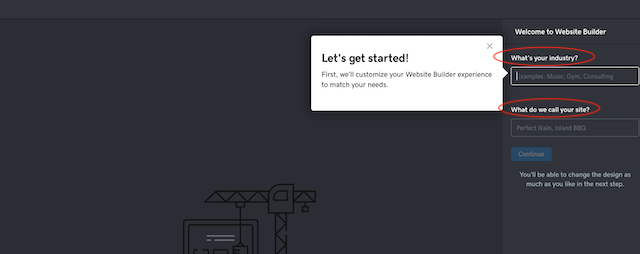
The second question is “What do we call your site?” All you do here is type in the name of your business. Just starting out and don’t have one yet? Read this post for help in naming your business.
If you serve a specific suburb, city or region, consider adding it to the name of your website. For the purposes of this post, we've gone with Total Care Insurance Richmond.
When you’re done, click Continue.
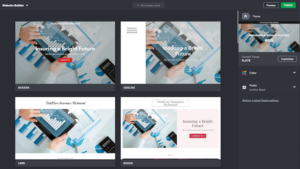
Now let's customise your website. Scroll through the website designs on the left to find one you like — we've gone with Slate.
Don't stress at this point if everything's not perfect. You can easily add your own words and pictures and even alter the colours and fonts. But these look pretty good, so we'll stick with them for now and click Done.
2. Type in the basics
On your left you'll see the website design you’ve chosen, while on the right is the Home menu with four items:
- Theme
- Content
- Site Navigation
- Settings
Consider this right-hand area your toolbox, as it contains all the things you need to build your website.
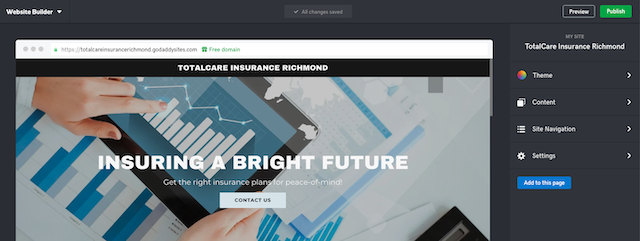
Let’s start by clicking Settings, then Site Profile. This is where you enter your phone number and business address. Click Done to go back to Settings.
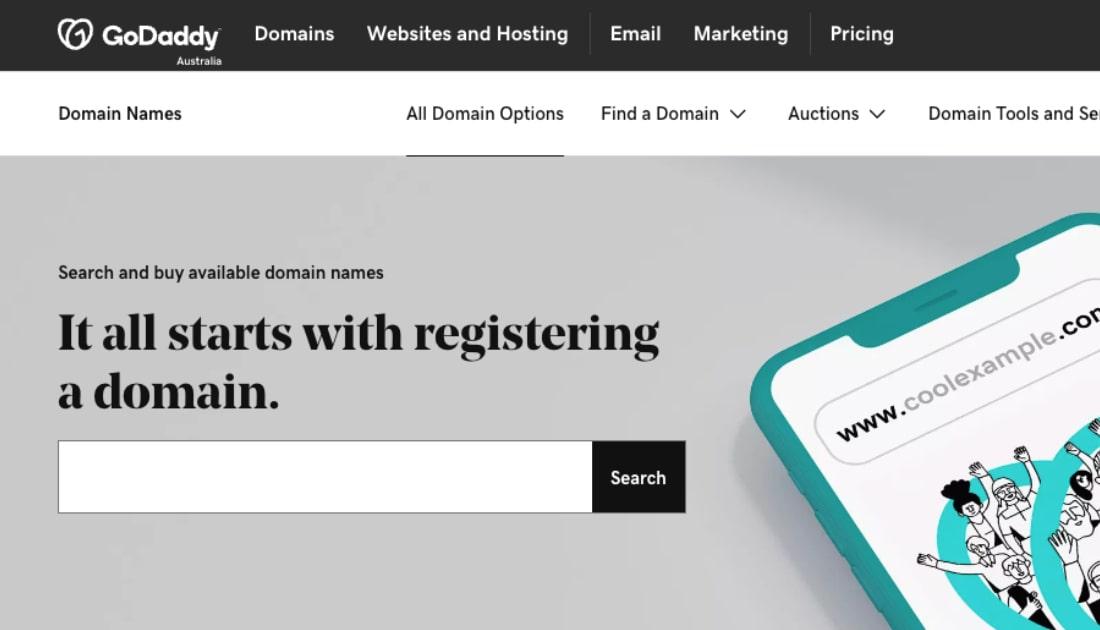
Domain shows you the address of your website. This is the www address you’ll print on business cards and include in your email signature so people know where to find you online.
If you don’t have your own domain name, you can keep the godaddysites.com address provided to you by the GoDaddy builder. But there’s also the option to add a one you already own or buy a new domain, like TotalCareInsuranceRichmond.com.au.
Click on Social Accounts if you want to add links to social media pages like your business Facebook, Twitter or LinkedIn account. And Search Engine Optimisation is a handy tool that walks you through the steps to making sure your website gets found and listed by Google and other search engines.
Once you’re done here, click Done to go back to Settings.
3. Get down to business
Now it's time to add the important details of your business. Click on the tiny house shape to the left of Settings and then click Site Navigation. There's already one page called Home, so click on it.
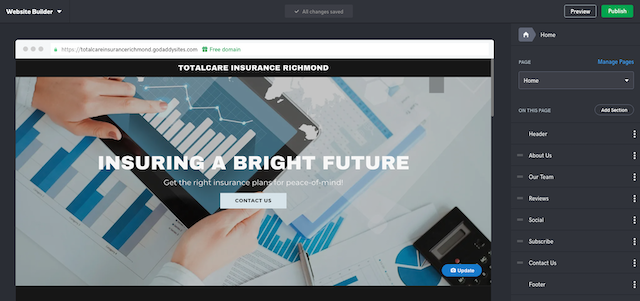
Top of the list of options here is Header, where you can adjust the photos and messages people will see when they first land on your website.
With this template, the name of your business is at the very top of the page. To change what this says or to add your business logo click Header then Logo on the right.
Beneath the black bar with your business name, it says "Insuring a Bright Future" and "Get the right insurance plans for peace-of-mind!" but these are easy to change. Simply click on any words in the design, then start typing to replace what’s there with your own text.
The background photo can also be swapped out for another photo in the large image gallery or one of your own photos.
Below "Insuring a Bright Future" is a Contact Us button, which jumps people straight to the Contact Us section at the bottom of your home page. These kinds of buttons are important for encouraging visitors to take that next step. Feel free to change the words — “Request a quote,” maybe or “Get in touch” — but it’s best to keep button text short.
When you're happy with how everything looks in the header, click Home in the navigation menu. That's the word 'Home' for editing the Home page, not the tiny house icon which takes you back to the start.
Moving down the Home page
Now let’s click About Us on the right (the option below Header). Here you can replace the sample text with your own details about:
- Your qualifications and affiliations
- How your business got started
- The different kinds of services you offer
This is also a good place to include a good customer review if you have one.
To change any photo in your website, click anywhere on it and then click Replace to:
- Choose a different photo from GoDaddy's image library
- Import images from your Facebook page
- Upload your own
If you have others working for you, click Home on the right, then Our Team. Then just add photos and any details you want to share about your key people.
Once these sections are in order, click Done.
4. Open the lines of communication
Now let’s personalise what your visitors will see when they click the Contact Us button.
As before, we’re going to click Home in the navigation menu in the upper right — only this time we’ll select Contact Us from the list.
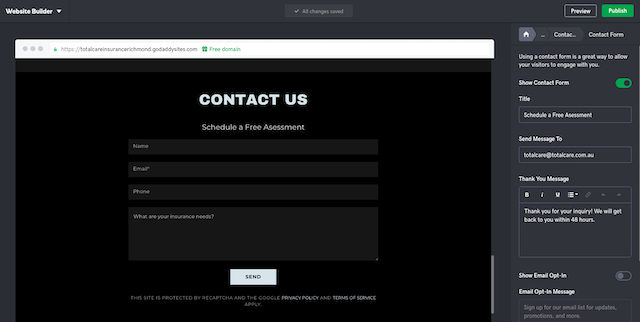
Here you can change:
- The message shown
- The fields in the online form
- The email address to which these online queries are sent
Some of your business details might be added automatically by the GoDaddy builder, but you can change them here if need be.
Add an eNews signup form to your site
Near the bottom right, you’ll see a “Show Email Opt-in” switch. Turn this on if you’d like to start collecting visitor email addresses.
Email marketing is still one of the least expensive marketing tools around.
You can then start sending helpful emails out to those who sign up (learn how here). Your emails could cover anything of interest to people shopping for insurance — how to decide how much insurance you need, for example. By providing valuable information, you’ll be top of mind when readers decide to call an agent.
Click Done when you've finished.
Now click Contact Us in the top right to get back to the previous screen.
 Add your business hours
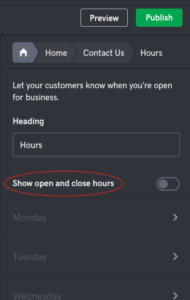
To add your hours of operation, click Hours. Work through the list, clicking the arrow next to each day of the week to set open hours for that day.
The good thing is that your website is smart enough to know what day it is, so if you enabled "Show open and close hours,” it automatically says "Today Closed" on your days off.
Once again, click Done when everything looks good.
With that your website is ready.
The great news is that you can change any of those details later, even the Theme, and you won't need to redo everything. Your text and photos will be inserted into the new website design.
No worries if you change your mind either. Changes are automatically saved, so you can go to Site History under Settings and go back to a previous version if you don’t like the new one.
5. Preview, tweak and publish
Now it's time to press the Preview button at the top right, which shows you what your website will look like on both a desktop computer and a smartphone.
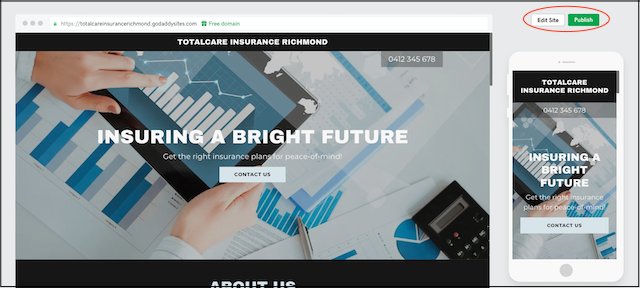
The GoDaddy Website Builder ensures that your site looks great on a small screen — a must in these mobile-centric times. The last thing you want is to lose a potential client because your website won’t work on the smaller phone screen.
You can make more changes now, or after your website is online, and press the Preview button to see how they will look before they go live.
Go back and forth between Edit Site and Preview until everything looks right.
Finally, press Publish and your insurance website is live for the world to see. Click View Site to see for yourself.
How to make a website in summary
With more and more Australians going online to research all kinds of professional services, it pays to have a great-looking website with all the information they need. Thanks to easy tools like GoDaddy Website Builder, starting a website is easy for literally anyone.
With a website you'll rank higher in Google search results, which is the key to getting seen by your target customers. Once potential customers click through, you can invite them to sign up for informational emails. Focus on providing useful information in these emails and you’ll soon be having one-on-one conversations with future clients.

