Websites are an asset. They’re like an employee who never sleeps. You can use a website to promote your business to new customers. You can use a website to provide support to existing customers. And you can even use a website to help your staff do their job by acting as a centralized resource of information. And most importantly of all? Your website belongs to you. You’re investing your time, and your energy, into developing an asset that you own. So if you’ve ever wondered how to launch a website, keep reading.
Despite all of those benefits, only 42% of Canadian small businesses have a website. And that’s a shame, because the ROI of having a website can be massive.
Hi! I’m Andy McIlwain. I’ve spent the last decade helping small businesses with the web. I’ve worked in-house, in agencies, as a freelancer and as a tutor. These days, I’m proud to be working at GoDaddy, where we have the privilege of helping millions of businesses worldwide learn how to launch a website.
Through all of these experiences, the biggest challenge that I see people facing, again and again, is the struggle to just get started. As a close friend once told me, “I don’t know what I don’t know.” They know their business, but their business isn’t building websites.
So in this Mompreneurs Mastery Module, I’m sharing everything that I know. I’m not saying that this is the best approach, but it is the approach that I’ve developed over the last 10 years. It’s worked for me, and hopefully it’ll work for you, too.
How to launch a website in 7 steps
You can waste a lot of time trying to “wing it” by opening up a website builder and figuring things out as you go. That’s not to say that experimentation is bad. I love experimenting! But having a general sense of direction, a general idea of what needs to get done, will help you work more efficiently. That’s why I’ve put together a video and workbook based on the steps I’m sharing here.
-
Register your domain.
-
Choose an email provider.
-
Select a platform for your site.
-
Plan your pages.
-
Build your site.
-
Add interaction with forms.
-
Install Google Analytics.
Don’t let this list scare you — when it comes to learning how to launch a website, we’ve got the tools and resources to help you get your online venture up and running. Ready? Let’s roll.
1. Register your domain
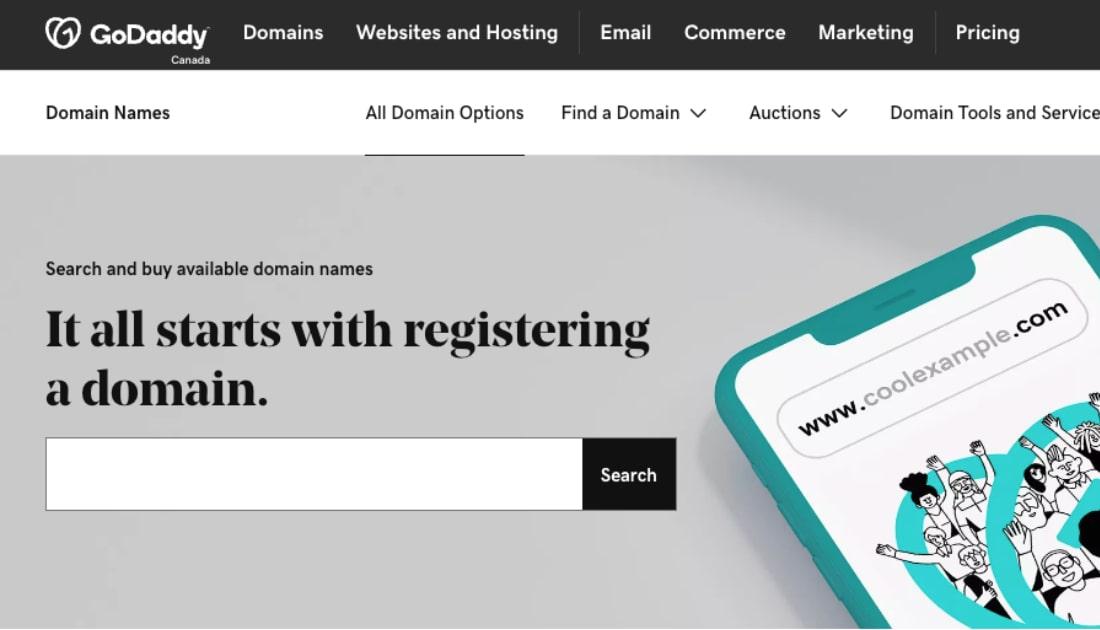
Before you build a website or set up a professional email address, you’ll need to register a domain name.
A domain name is the one thing that stays with your business, no matter how large you grow or how many times you redesign your website. Even if you move from one hosting plan or website platform to another, your domain will never change.
That’s why we recommend that entrepreneurs treat their domain name like an investment. It grows in value over time. As Google and other search engines index more of your site’s content, the value of the domain increases. As other websites link to you, the value of the domain increases.
Basically, the longer you’re around, and the more often that people talk about you, the better you’ll do in search engines — and the more likely you are to get found by potential new customers.
What makes for a good domain name?
Make it easy to spell and type. I find this to be particularly important if you’re expecting to send people to your site from in-person events like trade shows or arts markets. In those situations, you’re more likely to rely on business cards or verbal communication to tell people where to find you online. You want to make it as easy as possible for them to get to your site.
Keep it short. A short domain name is easier to remember, plus a short domain name is more aesthetically pleasing to the eye. These are both important brand considerations. Imagine how your domain will look when it’s printed on business cards, flyers or merchandise.
Avoid numbers and hyphens. This hits on two of the points covered above. You want to avoid confusion when the domain is shared verbally, and you want to create a polished brand identity for your business. There are exceptions to this, of course. If numbers are part of your brand name, for example, you should absolutely include them in your domain name.
Use the appropriate TLD. TLD stands for Top Level Domain. It’s the domain extension — the suffix — at the end of a domain name, like .com, .org, .net and so on. Generally, .com is the most popular for business websites, while .org is popular for nonprofit organizations, and .ca is popular for Canadian businesses.
Editor’s note: Want quick tips for choosing a domain name that rocks? Check out this article for even more advice on selecting a domain that works.
What if you have a bunch of domains?
It’s not uncommon for business owners to register a bunch of variations of a domain name. This often includes:
- Different extensions (.com, .net, .org, .ca, etc.) — at GoDaddy, this includes cheap domain opportunities
- Alternative spellings of the brand name
- Domains targeting keywords that are relevant to the business
Regardless of how many domains you register, remember that a website should only have a single primary domain. If you’ve registered a bunch of other domains, you should point those domains to the primary domain that you’re using for your website.
For example, let’s say we have a website for Debbie’s Fine Foods. Debbie has the domain DebbieFineFoods.com, DebbieFineFoods.ca and DebbieFineFoods.biz. Debbie is going to build her website on DebbieFineFoods.com. She sets up DebbieFineFoods.ca and DebbieFineFoods.biz so they redirect to DebbieFineFoods.com.
Action item: Search for a domain name that’s short, easy to spell and easy to remember. Avoid using numbers and hyphens, and use the appropriate TLD extension.
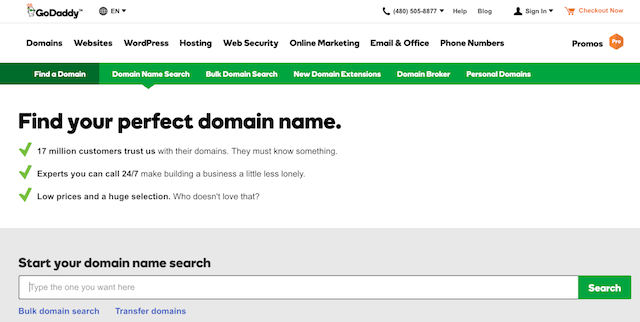
Go ahead, search for a domain name for your business.
2. Choose an email provider

Once you have your domain name, the next step is to choose an email provider. You might be wondering why I’m recommending that we jump to email in this how to launch a website tutorial, but here’s the thing: you can start using a professional email address right away. It takes less time to set up than a website, and it’s something you can put on business cards, flyers, signage and so on long before your website is ready to go.
Why do you need a business email address?
The first reason is for separating your personal and professional correspondence. You should retain your business emails for record keeping purposes. Your personal emails shouldn’t get caught up in that.
The second reason is professional branding. I cringe whenever I see a flyer, sign, vehicle wrap or other advertisement using a free @gmail.com, @hotmail.com, etc. email address. It cheapens the perception of the brand.
How serious is the business if they’re using a throwaway email address?
The third reason is for future-proofing. If you need to set up additional business email addresses, whether it’s for new staff members or specific use cases (e.g., accounting@, sales@, info@), you’ll need business email addresses associated with your domain name.
Business email is more than just email these days.
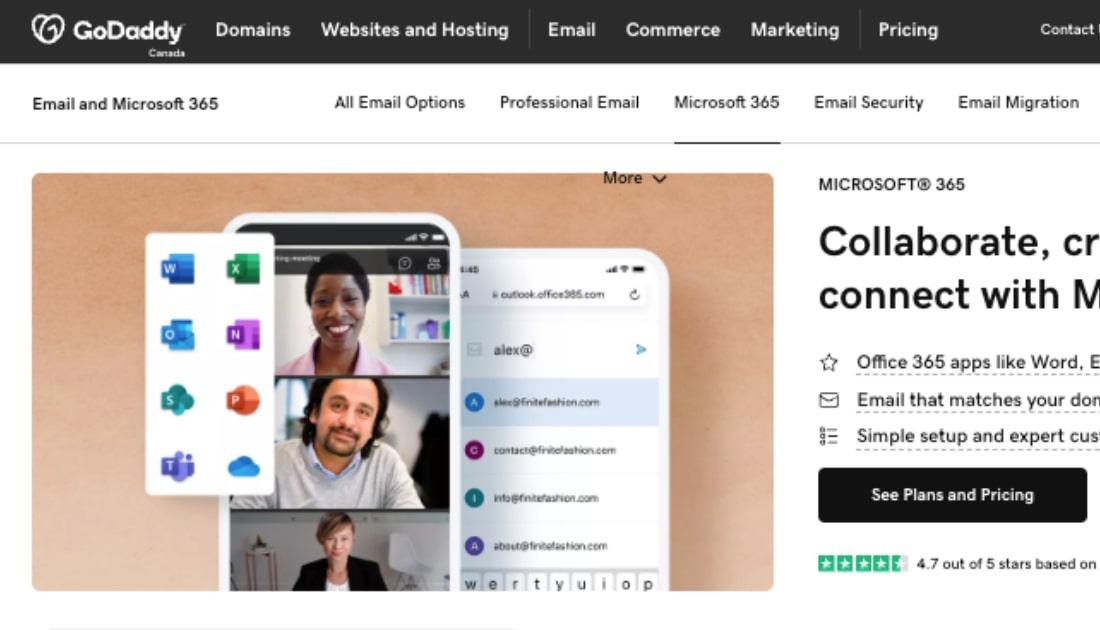
Business email solutions, like those available in Microsoft Office 365, are bundled in as part of a broader suite of tools meant for business productivity. So you’re not just getting an email account, but you’re also getting file storage, calendars, contact management, project management and a bunch of other tools that can grow with your business.
Pro tip: Check out this post to learn how to manage your email inbox with these tips and tools.
While that might seem like overkill, remember what I said about data retention. You want to keep your business data in a centralized, secured place that’s separate from your personal files. That’s exactly what a service like Office 365 was designed for.
Action item: Sign up for business email like Office 365.
3. Select a platform for your site

Once your business email is ready to go, the next step is to start working on your website. But before you do that, you need to know what platform you want to use. Now when I’m talking about the “platform,” I’m referring to the service or application you’re going to use to build your website.
When you’re just learning how to launch a website, I like to suggest one of two paths: a website builder or WordPress. There are other options out there, but these two approaches are the most common, and I honestly think that either is the right choice for most entrepreneurs.
So let’s talk about these two different options and what they entail.
Website builders
Website builders are designed to be easy. They’re intended for people who want to build websites without spending any time on the technical stuff, like configuring web hosting or messing with code.
Website builders are a good choice if you’re looking to build a simple site.
So if you just want to publish information about your products and services, upload photos and videos, share customer testimonials, put up a contact form, and other basic features, a website builder might be the right choice for you.
Editor’s note: GoDaddy's Website Builder lets you create a website in under an hour, link to your social media profiles, integrate email marketing and more — in just a few clicks.
But what if you want to do more than just build a basic website? What if you’re building an online business, say one where people pay a membership fee to access exclusive content? Or maybe you’re building a publication or a media business? That’s where WordPress comes into play.
WordPress
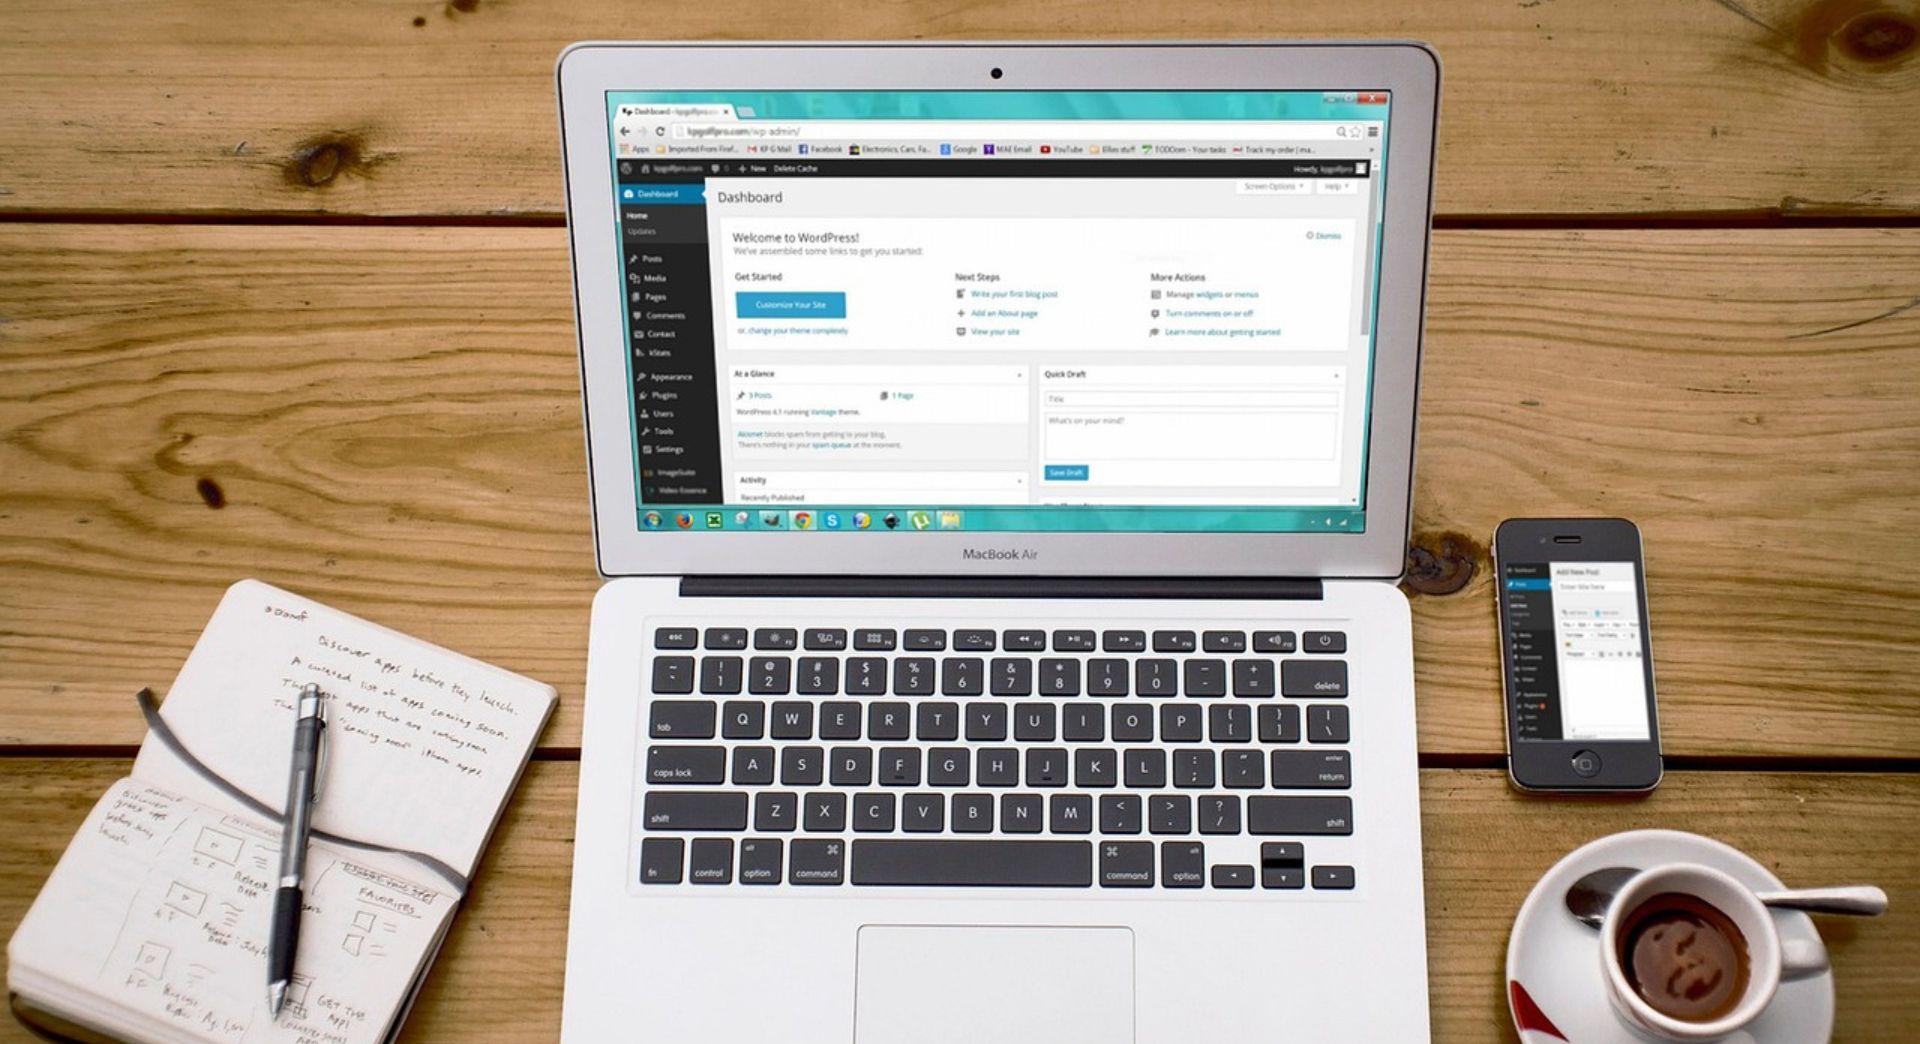
WordPress is the world’s most popular content management system. It’s most widely known for powering blogs, but you can use it to build all kinds of websites. It has an extensive library of plugins that add new functionality, and an equally extensive library of themes that handle the look and feel of a website.
Now, lots of people like to talk about how easy WordPress is to use. But, as with any sophisticated tool, it has a learning curve. And as the site owner, it’s your responsibility to take care of technical duties like software updates, backups, security, testing and so on.
Editor’s note: Interested in WordPress but not sure where to start? Check out GoDaddy’s WordPress Site Hosting. With our exclusive Quick Start Wizard, we guide you through the setup and provide you with professional layouts and images to give you a site that’s both beautiful and professional.
How should you decide between the two?
It comes down to understanding what your needs and capabilities are.
- Is a website builder able to do all the things you need it to do?
- Do you have the skills, or the time to acquire the skills, to build your own site with WordPress?
- Are you working with a web professional who can support you?
And remember: A website is tied to its domain name. And as long as you have control over the domain name, you can point it wherever you want.
One approach that might work for you: Use a website builder to get your site up and running in minimal time with minimal fuss. And if you hit a point where the website builder no longer meets your needs, that’s fine — you can change the platform you’re using.
Action item: Choose a platform for your website. I recommend starting off with a tool like GoDaddy’s website builder, so you’re not burdened with a bunch of technical responsibilities.
4. Plan your pages

Before you get into actually building the website, start off by planning the pages and information your site will cover. I’m a fan of starting with six primary pages or sections of a website, covered below.
When I do this exercise, I usually start with a blank Word or Google doc (or even a piece of paper!) and write down each page as a separate heading. Beneath that heading I’ll jot down bullet points about what questions I need to answer, or information I need to include, for each page.
Editor’s note: For a handy guide, download our Content Creation Worksheet. We’ll take you through the process, step by step, of writing amazing web content for your business website.
Home
The purpose of your Home page is to provide an introduction to your business. How would you describe it to someone who’s never heard of you? What sort of questions would they ask? Your job is to proactively answer those questions on this page. The other pages on your website go into more detail about particular aspects of your business.
About
The About page is an opportunity to tell your story and inject some humanity into your website. Who are the people working on, or for, the business? What do they care about? What’s the backstory of the business itself? How did it come to be? The About page is a great place to address those sorts of questions.
Products & Services
The Products & Services page goes into detail about what your business offers. What do you sell? What does it include? What are the benefits? How much does it cost? What are other people saying about it (i.e., testimonials and reviews)? Those are all great points to cover on a Products & Services page.
FAQ
I like to think of the FAQ page as a starting point for a “Help” or “Support” section of your business website. This is the place to address questions people have before they make a purchase, as well as questions they might have after a purchase is made.
Request a Quote / Contact Us
If you’re selling a service, this page is super important because it’s the primary method for new customers to reach you. If you’re selling products, you could use this page for handling special requests. And if nothing else, a contact page is just a good thing to have in general so people can reach you.
Contact information like a mailing address or phone number is often found on either the About page or Contact Us page. To make life easier for your customers, include that information on both pages, as well as in your site’s footer. (More on that in a moment.)
News & Updates
Last but not least is the News & Updates page. This is a great place to share special announcements, product updates, behind-the-scenes stories of your business and whatever else you’re interested in sharing with your existing and potential customers.
Action item: Outline the key points of information you wish to convey on each page of your website. We’ll get to fleshing out the content in a later step.
5. Build your site.

At this point, you should now have your domain name, your business email, and your website platform. You’ve mapped out the pages you need to create, and what key points to include on each page. Now the real fun of learning how to launch a website begins.
In this step we’re going to look at several different aspects of a site’s design:
- The layout — the placement of different elements or components on your site.
- The header and footer — elements that appear on every page of your site.
- The copy — the written information about your business, unique to each page.
- The media — photographs, logos and video.
- The style — your choice of fonts and colours that reflect your brand identity.
Let’s go through these one by one.
Layout
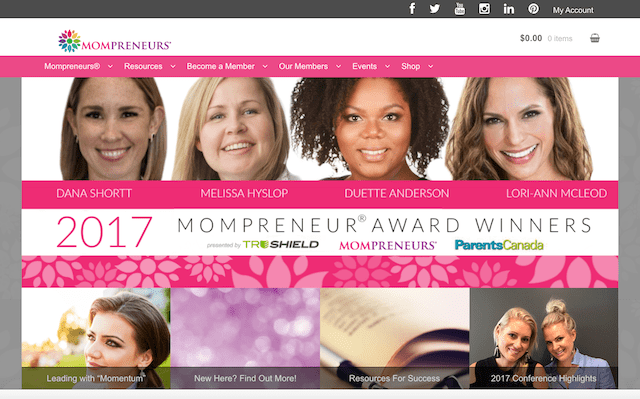
When we’re talking about layout, we’re looking at the placement of different elements, or components, on your site. So let’s look at the Mompreneur website, for example.
We’ve got a number of different elements on this page. We’ve got the header with the logo, the navigation and the social media links. You’ll also see a big carousel element, drawing attention to special announcements.
We’ve got a description of Mompreneurs, detailing what the organization is all about. And below that, we’ve got the latest news. Over on the right side, what’s typically called the sidebar, we have some ads, some calls-to-action (CTA) an Instagram feed and a search feature. Down in the footer, we have some navigation links and a CTA to register and join the organization.
The layout of the site refers to the placement of all these elements. And if we go to a different page on the website, the layout of that page will be different.
So how do you decide on a layout? How do you decide what to include and where to place it? I find it helpful to break your layouts down into a few standard components.
Header
The header is usually visible on every page of the website, and it usually contains the primary navigation and other links and elements that should always be present on the website. The header is important for wayfinding, because it maintains consistency from one page to the next.
Primary navigation
The primary navigation is usually part of of your site’s header. Its purpose is to give your site’s visitors a clear and consistent method for finding their way around your site. Each of your planned pages will appear in the primary navigation.
Footer
The second standard component is the footer. Like the header, the footer should be the same on every page. The footer is like an appendix, and it frequently contains important navigation links that don’t belong in the primary navigation. Links to things like your Terms of Service, privacy policy and so on. It should also include your mailing address and phone number.
Page content
So if you think back to the previous step about planning your pages, you know that each page addresses a different topic. The Home page, for example, is a high-level introduction to your business, while the About page tells your story and introduces people to your team.
For each page, imagine that you’re speaking to someone about that topic.
What would you tell them? What important points would you make? That’s essentially what you’re doing as you think through your page content. What information do you need to convey, in what order and in what way?
Page content is usually made up of two things: Copy (written text) and media (images and video).
Copy

Copy is the written content that appears on your website, and the quality of the copy can have a huge impact on how you’re perceived as a business.
Good writing matters.
It doesn’t need to be perfect, but it shouldn’t be damaging, either. So how do you write compelling website copy? Here are some tips to get you on your way:
- On the Home page, get to the point and call out what makes you different.
- For Products & Services, explain the benefits, not just the features, of what you offer.
- Structure your copy for easy reading with headings and lists.
- Inject your brand’s personality into the copy with the right tone and style.
- Write in plain English. Simple is better than “sophisticated.”
- Read what you write out loud. Does it sound conversational? (It should.)
- Check for grammar and spelling.
Pro tip: Write out your copy in a Google Doc or Word so you’re not struggling to write it while building your site.
This forces you to focus on the writing and editing. When you’re happy with what you’ve written, copy and paste it into your website builder. You can make small tweaks and refinements there.
Media
Images are the next step up from plain text. But lousy images create a cheap impression of your brand. That’s why I recommend either learning some basic photography skills or, if you can afford it, hiring a professional photographer.
Good product photography is essential for making a sale.
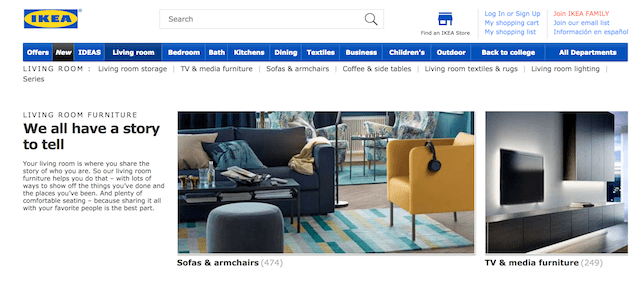
In fact, good photography can persuade people to pay more for a product. And when I talk about product photography, I’m not just talking about placing the product in front of a plain white background. Think about how Ikea stages their photos in their catalogue. Products appear in an environment, helping customers understand how the product can fit into their own spaces and lives.
Images are just as important for a service-based business. Why? For a service business, the people are the product. Team photos and professional headshots help potential customers get a feel for the personality of the people they’ll be working with.
So text and images are the starting point. But if you really want to make an impact, you need to look at doing video as well. Not sure what videos to create? How about:
- A video about a product or service you offer.
- A video about helpful tips and tricks related to your business.
- A video testimonial from a happy customer.
As you gather images and video for your site, take note of what page you’re going to use them on. Video interviews with team members, for example, would be a great fit for your About page, while photos of your products would be a great fit for the Products & Services page.
Good visual media comes in handy beyond your website.
If you can take good photos or video on the fly, you can put that skill to use and produce original media content to share on YouTube, social and elsewhere.
If you want to DIY and you have a smartphone, you’ve already got all the equipment you need to take a decent picture or record some video. Learn the fundamentals of composition, lighting and audio, and you’ll be amazed at the quality you can get out of your phone. You can find all kinds of tutorials via Google, YouTube and sites like Skillshare.
Style
Style refers to the choice of fonts and colours that you use on your site. These choices should reflect your brand identity. Style choices are largely based on the impression, the feeling, that you get by looking at particular combinations of fonts and colours.
When you decide on fonts and colours to use, write down the details so you can consistently use them across all of your online and offline marketing material.
If you’re not sure where to start, refer to any marketing collateral you’ve already created, and see if you can come close to matching that. The similarities between print and web are important for creating brand consistency. Whatever you settle on should also be used for social media content, advertising and so on.
If you don’t have any marketing collateral already — or if you aren’t particularly fond of the collateral you have — try talking with your customers. What sort of style comes to mind when they think about your business? And if you have no customers to talk to, you can always make it up! Think about the impression you want your business to make. What’s your style?
Action item: Start working on your site in whatever platform you’ve chosen. That includes creating your pages, writing your copy, adding your media, and styling the look and feel of your site.
6. Add interaction with forms

When it comes to determining how to launch a website, forms are a must. Forms are a way to add interaction and usefulness to a website. I love forms because you can use them for all kinds of tasks. Think about:
- What is the purpose of the form?
- What information do I need to gather through this form?
- What happens after that information is gathered?
By answering each of those questions, you can come up with new ways to use forms, beyond just a simple contact form. Here are a handful of different types of forms you can create to serve unique purposes:
- Request a quote
- Schedule an appointment
- Enter a contest
- Contact support
- Ask a question
- Share feedback or reviews
- Share a story or testimonial
Each of those uses can be handled through a simple form. You just need to know what information to gather, what fields to include, and how to label those fields so site visitors know how to use the form.
Action item: Create a form for your Request a Quote or Contact Us page. Start by writing down the information you need to gather and what happens with that information after it’s gathered, and then create the form in your site’s builder tool.
Email capture form
As you might’ve guessed from the name, an email capture form is used to gather email addresses. Typically, these email addresses are added as new subscribers to an email list in an email service provider like GoDaddy Email Marketing.
From here, you can send mass emails about things like news and announcements, sales, special promotions and other similar communications.
I won’t get into a bunch of detail about email marketing in this post, but the important thing to note is that your email subscriber list is one of your biggest assets as a business. It’s the first step to developing an email marketing program, which often ends up being one of the strongest performers — if not the strongest performer — for driving sales and keeping customers informed about what’s happening in your business.
Action item: Add an email capture form to your website.
7. Install Google Analytics

This is our final step. Google Analytics is the de-facto standard for monitoring website usage. But why should you care about that? Three words: Making informed choices.
The more you know about how your website is being used, the better.
Google Analytics will show you what pages are attracting visitors, where those visitors are going on your site, where in the world they’re coming from, and how they’re finding your site — be it through Google search or referrals from other websites.
And that’s just the tip of the iceberg. Google Analytics is an incredibly powerful tool that can do a lot more. But the first step, and what we’re concerned about here, is to get Google Analytics installed on your site:
- Sign up for Google Analytics.
- Set up your account.
- Get your tracking code.
- Add the tracking code to your website.
Once you have Google Analytics running on your site, you’ll be able to log in and review all sorts of reports about your website’s performance.
Action item: Sign up for Google Analytics and add the tracking code to your site.
Recap
We’ve covered a lot of ground concerning how to launch a website, so let’s quickly review what we’ve learned.
1. Register your domain
Your domain name is an asset that grows in value over time. A website should only have one primary domain. If you register multiple domains, redirect them to the primary domain.
2. Choose an email provider
You can start using your business email address right away, even if your website isn’t built yet. It keeps your personal and professional correspondence separated.
3. Select a platform for your site
I highly recommend starting off with a website builder. If and when your needs exceed the capabilities of the tool, you can look at migrating to something like WordPress or a custom-built solution.
4. Plan your pages
Start with six: Home, About, Products & Services, FAQ, Contact Us and News & Updates. On a blank document, write down the key questions and information points for each page.
5. Build your site
Think about the layout. For each page, come up with the copy (text) and media (video, images) that best supports the information you want to convey. Finally, settle on a style (fonts and colours) that reflects your brand identity.
6. Add interaction with forms
Think about what information you want to gather from site visitors. Break that information down into chunks, and assign those chunks to fields.
7. Add Google Analytics
Google Analytics is the de-facto standard for seeing how people are finding and using your website. It’s an incredibly powerful tool that will grow with your business.
Parting words of advice
If you’re just learning how to launch a website, I highly recommend taking GoDaddy’s new Website Builder for a spin. Follow these steps, and you can get your site up and running in less than an hour.

