There’s no shortage of commercial free, royalty-free social media icons on the web, thank goodness! You can do a search yourself — just be sure to use the term “vector” along with the icons you’re seeking. These will provide you with the original formats that the icons come in so you can utilize a tool like Adobe Illustrator to open and modify them.
Vector formats are mathematical calculations that, put together, make up a geometric shape. Bitmaps or raster images are a collection of pixels. When you expand a bitmap, it will eventually distort or blur the image because it’s optimized for a specific resolution. (Enlarge a JPG image, and you’ll see what I mean.) Vector formats are used quite a bit in EPS, AI and PDF files. Have you ever zoomed in on a PDF file and noticed that it never gets blurry? That’s because the elements (like the fonts) are in a vector format.

Pro tip: Here’s a link to Dreamstale’s free collection of 90 social media icons. When you unzip the file, you’ll find that includes the Illustrator file (AI), Encapsulated PostScript (EPS), PNG format, Svg format and even CSS sprites, along with the license information that states they’re free to use and manipulate for personal or commercial use.
The CSS sprite is a really fantastic inclusion. Sprites are a way of really speeding up your site’s load times. As browsers make requests for image after image from your server, that’s several round trips, costing quite a bit of time. By including all the images in a single file, you can utilize CSS to simply point to a specific coordinate in the file and display the given height and width.
Here’s an example:
.social {
    background-image: url(spritesheet.png);
    background-repeat: no-repeat;
    display: block;
}

.social-facebook-dreamstale25 {
    width: 48px;
    height: 48px;
    background-position: -314px -106px;
}
The result? The spritesheet is positioned so only the single social icon is viewable. If you’ve got a site with a ton of social icons or other image files, you should really combine them in a CSS sprite!
How to customize your social icons using Adobe Illustrator
If your theme or brand has a primary color, it sometimes looks fantastic to customize your social icons to have the same look and feel as your theme. We’re going to walk through customizing your icons using Illustrator since that’s a popular application for modifying vector files.
1. Open the original AI file and navigate and zoom to the icons you want to use.
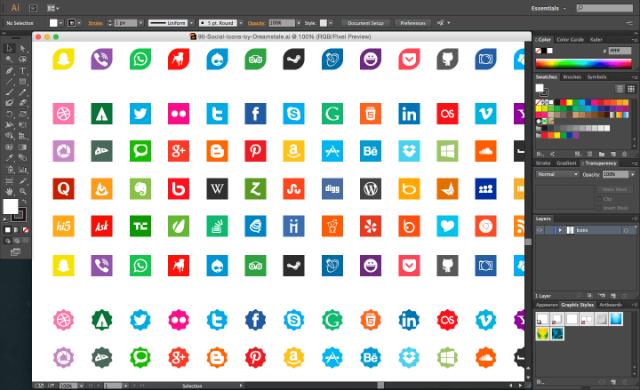
I’m going to utilize the square ones.
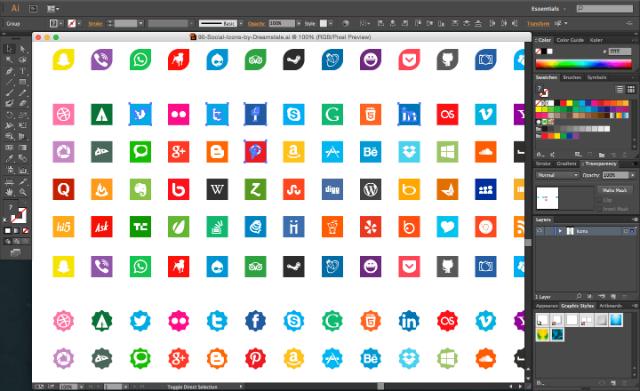
2. Select the icons you want to use.
I’m selecting Twitter, Facebook, LinkedIn and Pinterest. To hand select each, just hold down the shift button while clicking on each; only those you click on will be selected (as indicated by the blue highlighting).
3. Press CTRL-C or navigate to Edit > Copy in your menu to copy the icons.
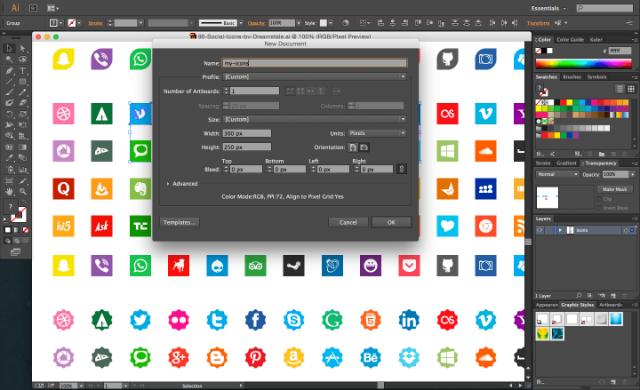
4. Select File > New and add a new file in a tab.
5. Paste the icons you selected by pressing CTRL-V or Edit > Paste in your menu.
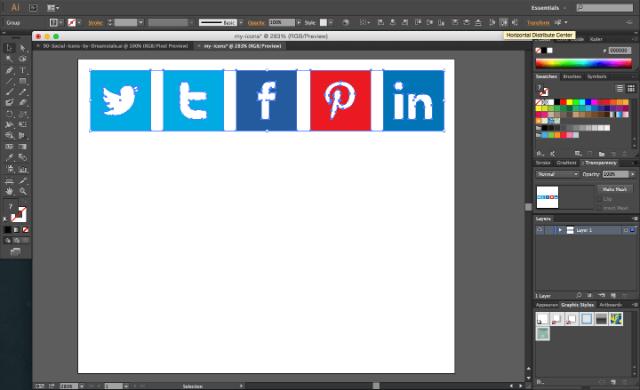
Now you’ll see the icons on the screen. You might need to shift them around to make them easier to manage. I love the alignment tools for this, which can be used to align and distribute them equally.
6. Copy your logo into Illustrator to match the colors.
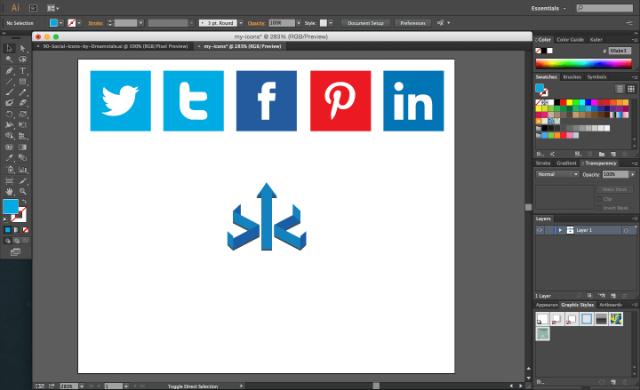
I just set it somewhere convenient so that I can remove it later.
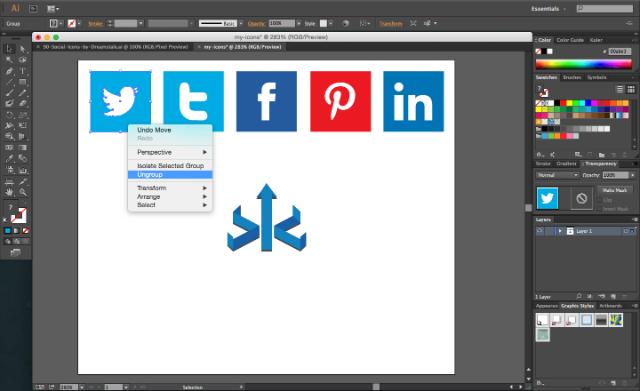
Pro tip: If you click on any of the icons independently, you’ll notice that the logo and the icon background are grouped together. Right-click after selecting the icon and click Ungroup.
7. Click on the background to see the color to edit from the original color.
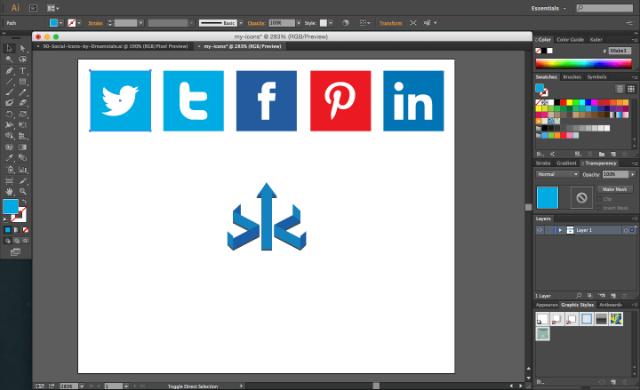
8. Select the logo color for the background match.
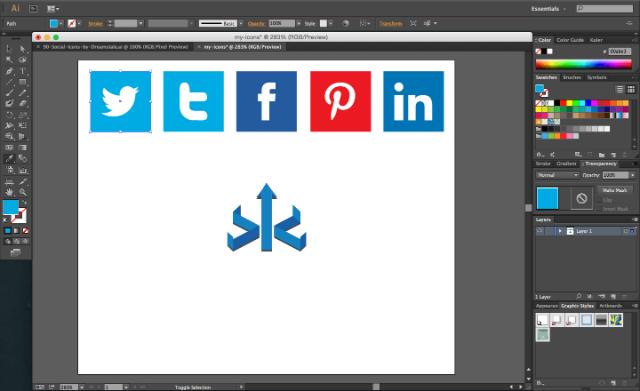
To do this, use the eyedropper tool and with the background selected, hover over your logo and select the color you’d like to match the background to.
You’ll see that the background now matches the logo color selected!
9. Apply the background color.
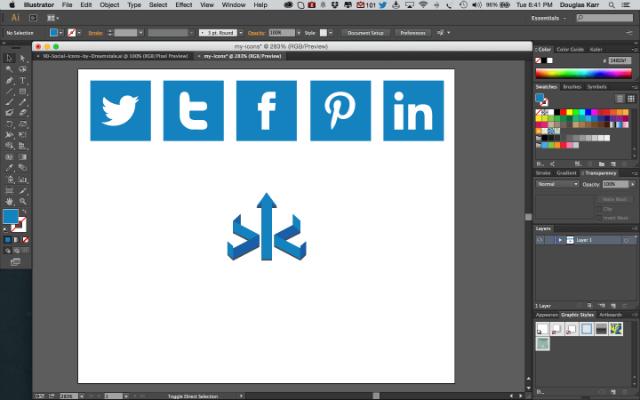
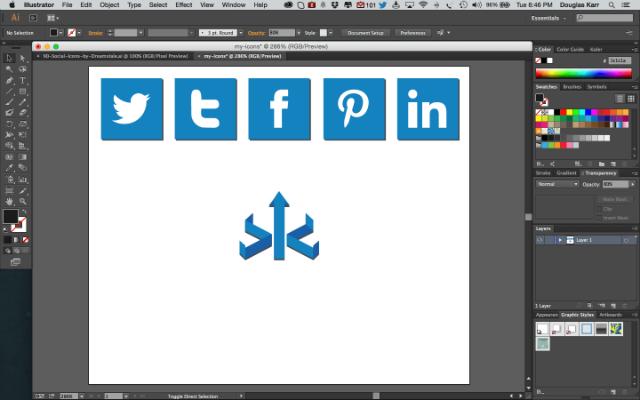
Ungroup each of the icons, select their backgrounds, and apply the color to each icon using the eyedropper until all of them are the same color as the logo.
Pro tip: You’ll notice I have a small drop-shadow on my logo, so I’m even going to add that effect. I can do it with the effects, or I can just add another square behind that’s properly colored.
10. Adjust and export.
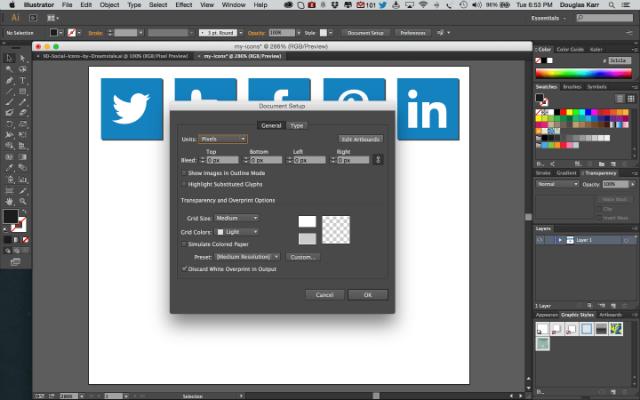
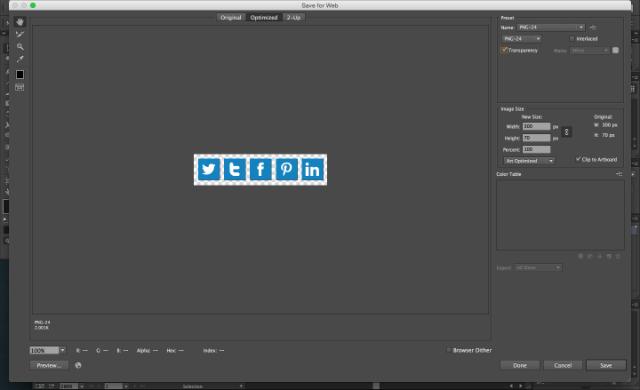

Adjust the artboard using Document Setup > Edit Artboard and make the final dimensions, and remove the logo from the output.
Now you’re ready to export! Use File > Save for Web and then output the filetype you need. I recommend PNG format with a transparent background.
And here’s the final result, a nice sprite of social media icons customized to my logo!
Once again, special thanks to Dreamstale for the amazing vector icon file that has every shape and social icon you’ll ever need. It’s a beautiful collection and simple to work with!
